Swan overview
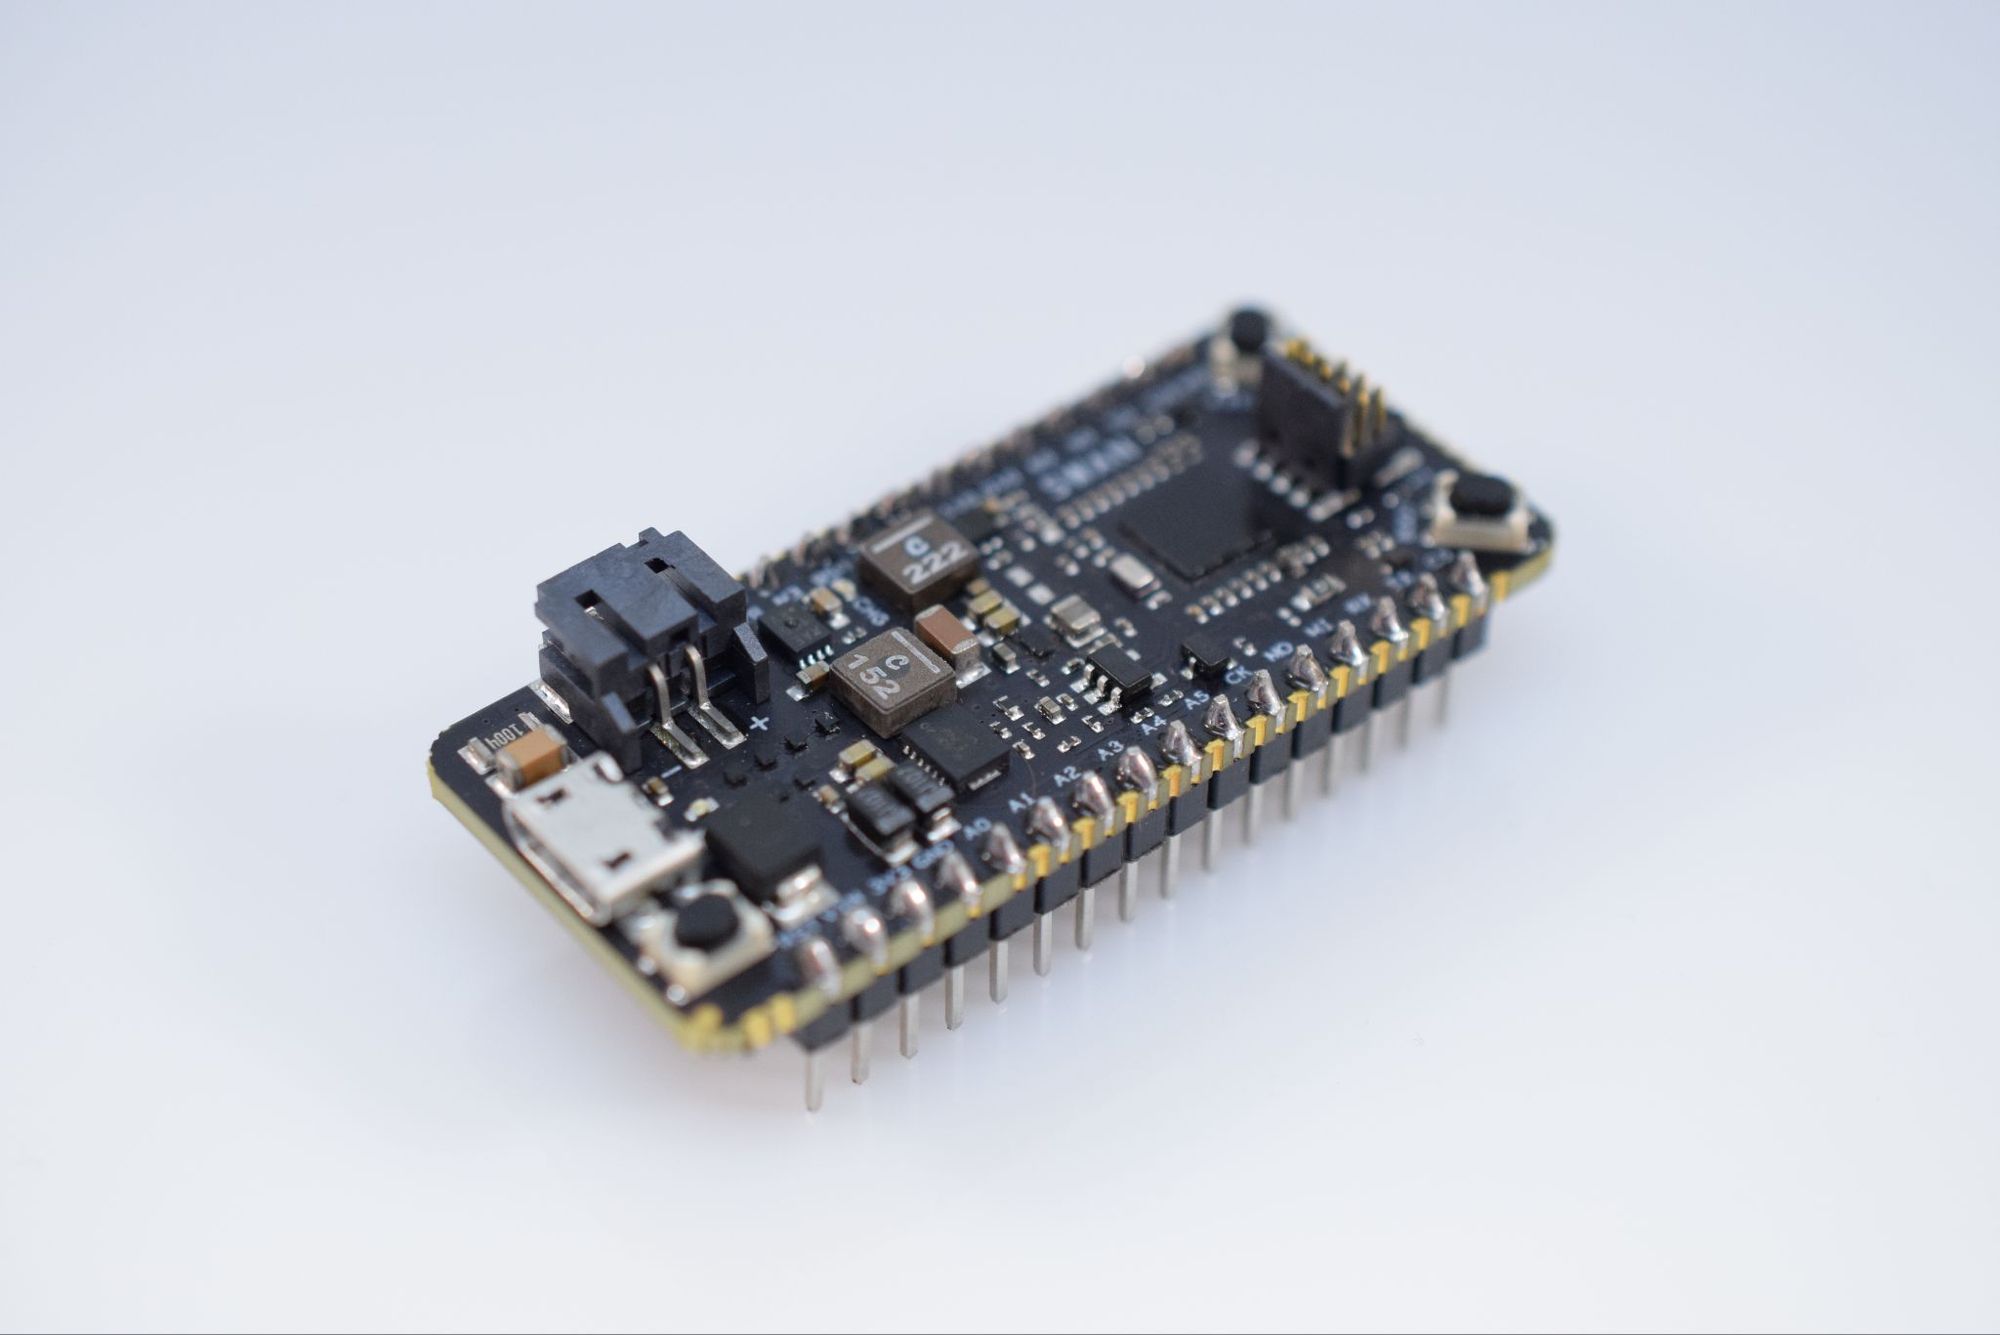
Announced during Imagine 2021, the Swan is a new development kit from Blues Wireless that was inspired by their Notecard system on module (SoM) device. It contains a powerful STM32 microcontroller in the ubiquitous Feather form factor that can be mounted on a board via its pin headers or on its carrier board, which exposes an additional 36 pins for a total of 64.
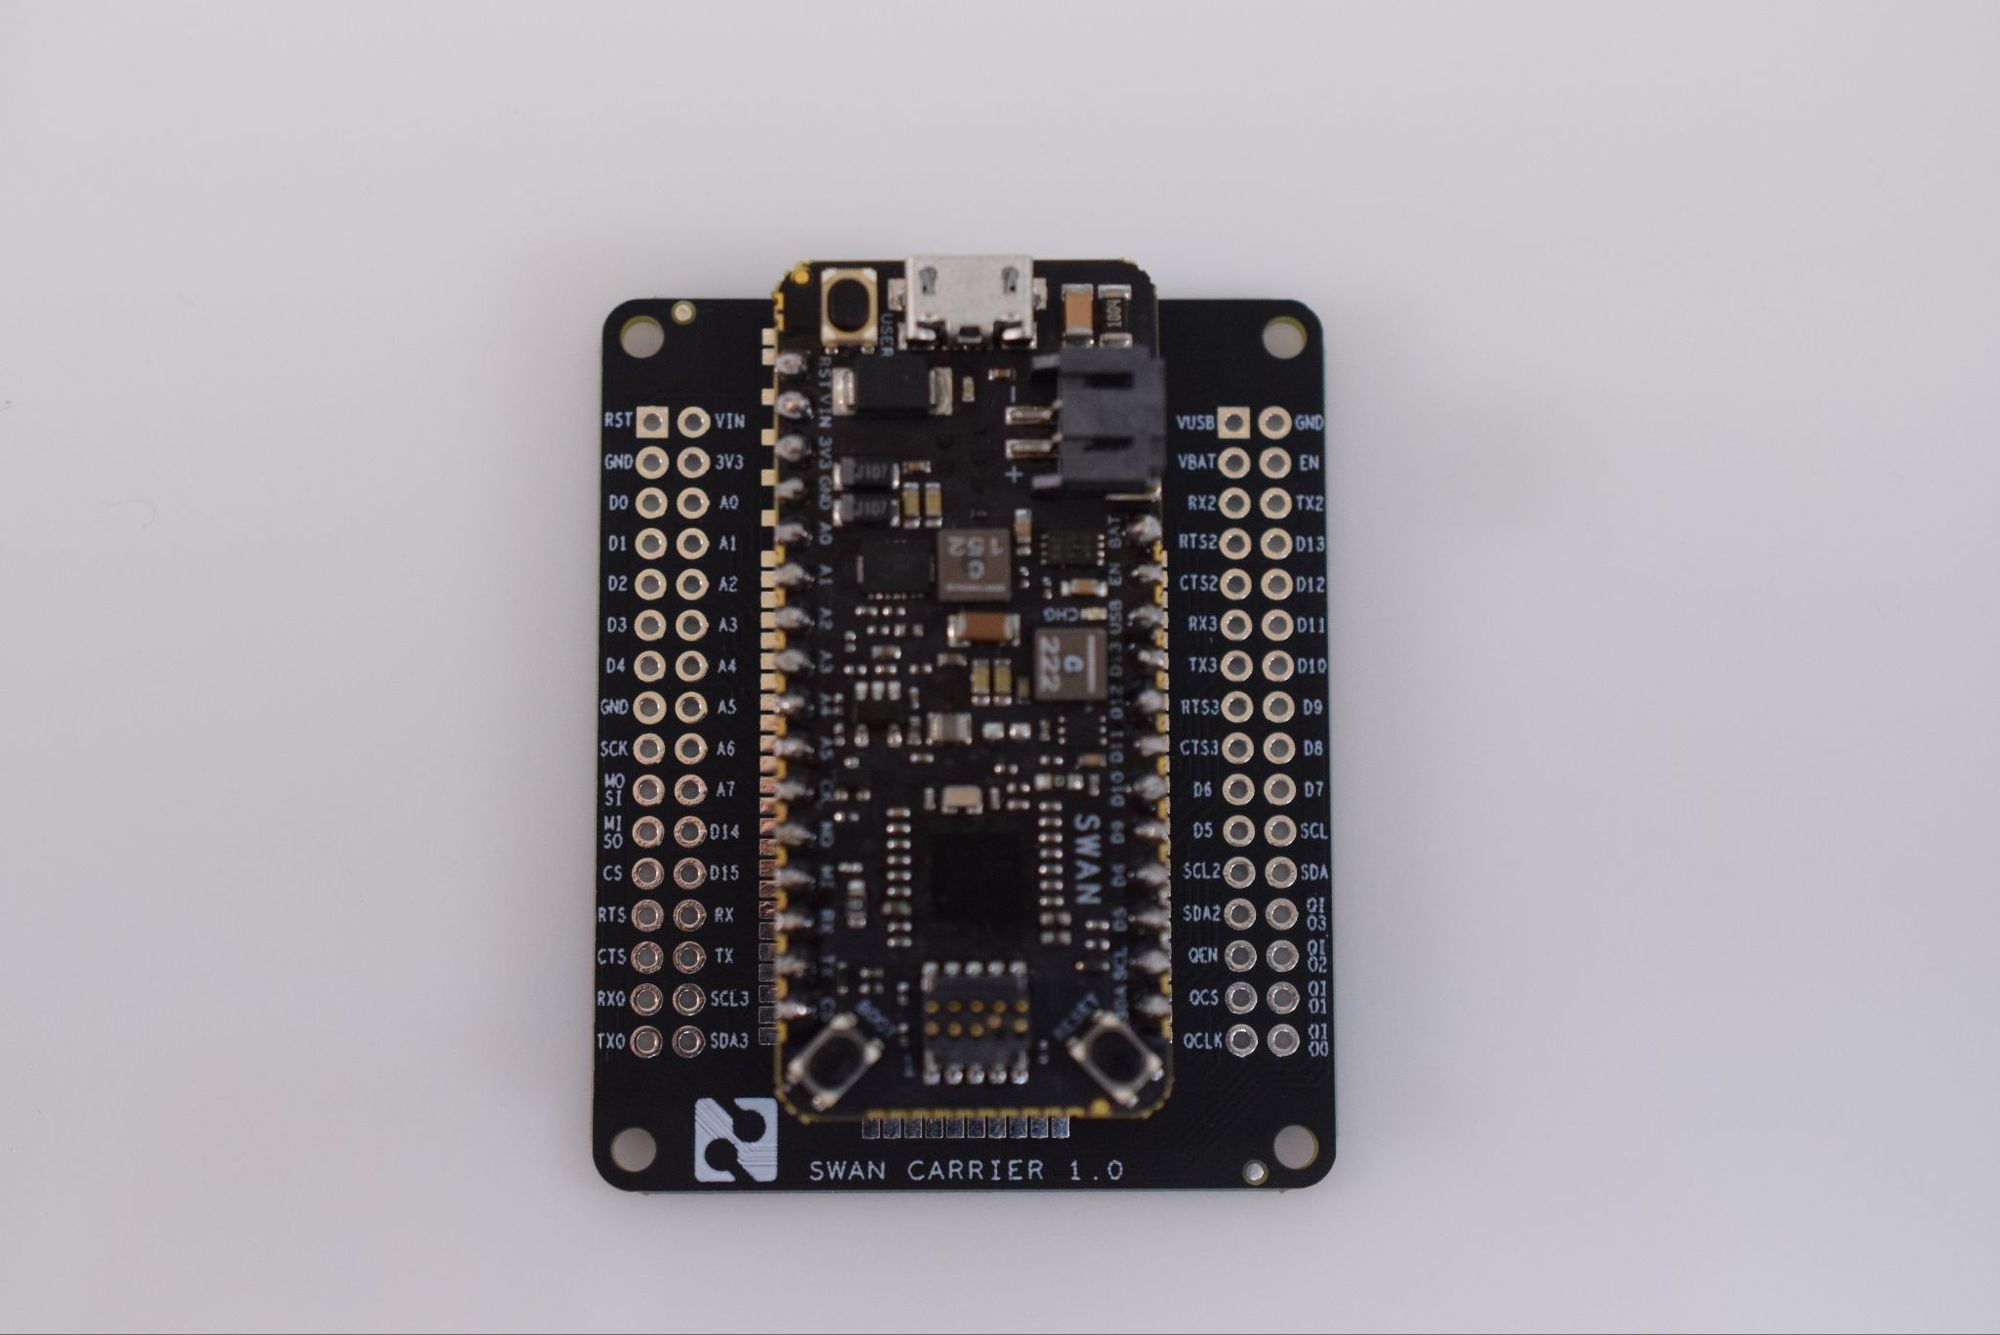
The list of features the STM32L4R5ZI contains is numerous:
- Ultra-low-power Arm Cortex-M4 core clocked at 120MHz
- 2MB of flash and 640KB of RAM
- 4x I2C, 3x SPI (5x with dual OctoSPI)
- USB OTG full speed
- 1x 14-channel DMA
- tRNG, 12-bit ADC, 2 x 12-bit DAC, low-power RTC, and CRC calculation peripherals
- Plus several more that aren’t available by default within the Arduino IDE and CircuitPython
All of these capabilities make the Swan a great board for edge machine learning, as models can be quickly run and used to control a wide range of connected devices.
Installing the tools
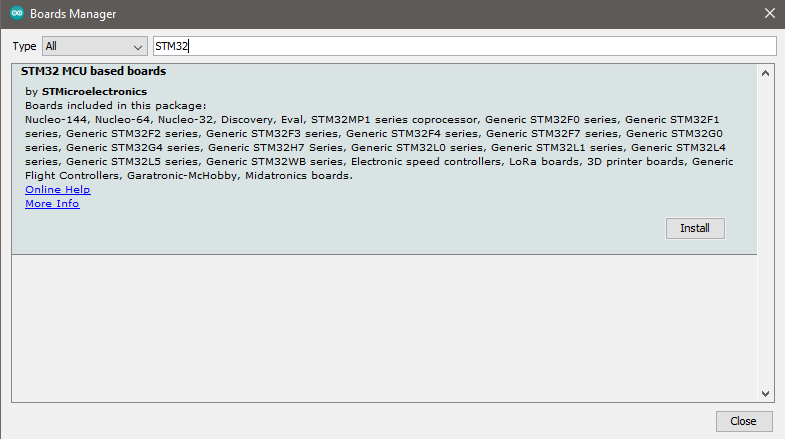
Simply add the following URL to the Additional Boards URL in Preferences and install it from the Boards Manager under “STM32 MCU based boards.”
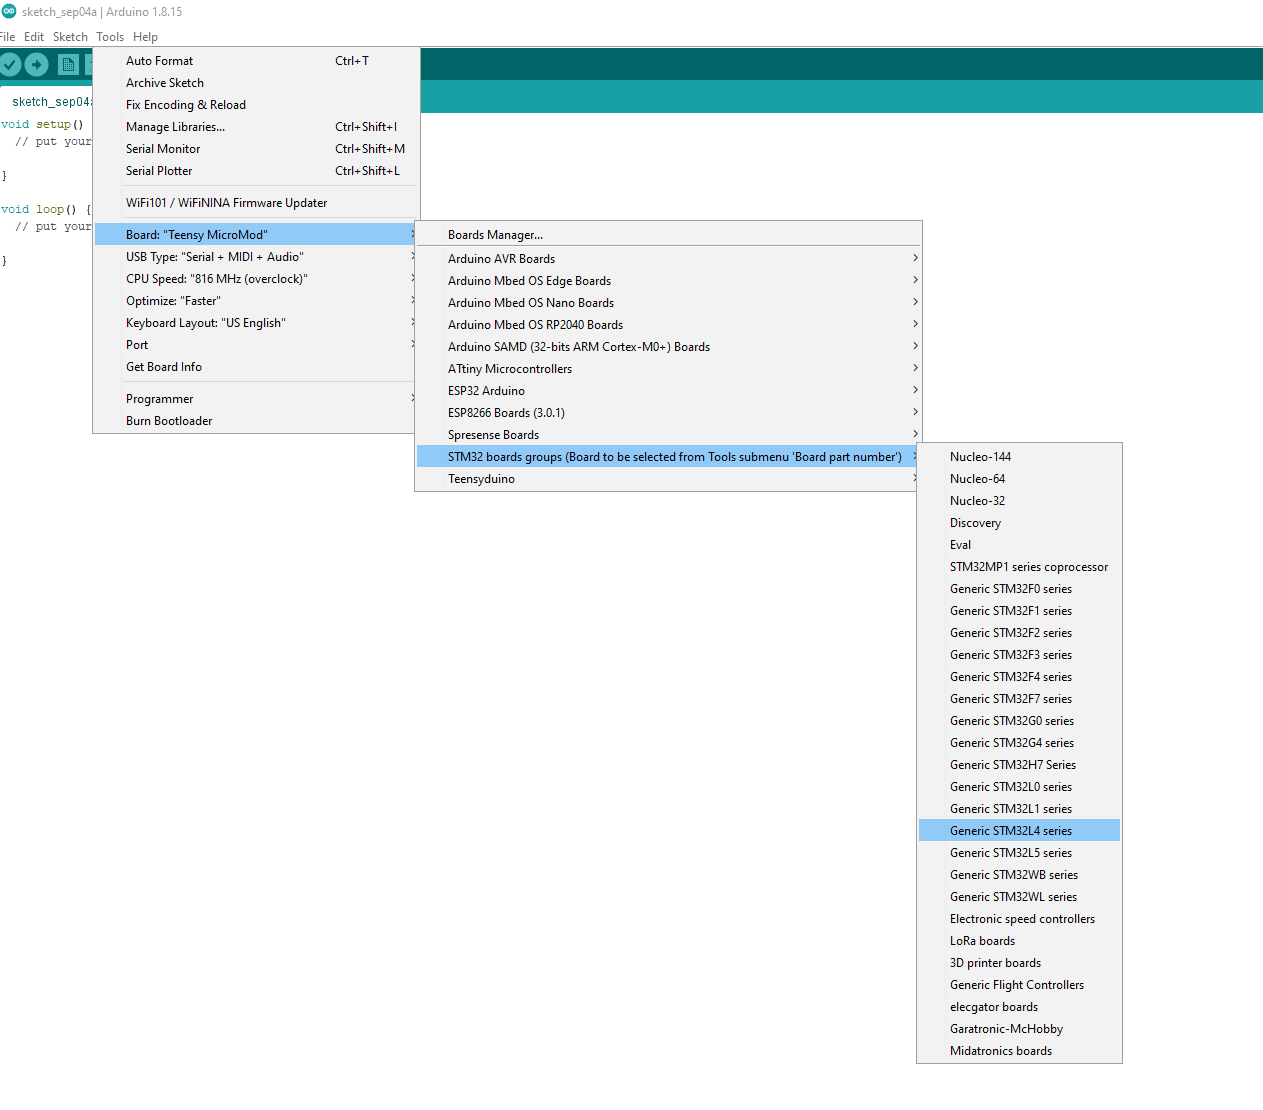
Now you’ll be able to select “Generic STM32L4 series” in Tools > Board > STM32 Boards groups. Choose the “Swan R5” option within “Board part number” and “STM32CubeProgrammer (DFU)” under Tools > Upload method.
To enable `Serial` over USB, use the following options within the Tools menu:
- U(S)ART Support > “Enabled (generic ‘Serial’)”
- USB Support (if available) > “CDC (generic ‘Serial’ supersede U(S)ART)”
Before you can upload any programs, you’ll also need to install the STM32CubeProgrammer software which allows the Arduino IDE to upload firmware to the Swan. Just follow the directions within the installer.
Next up is the Edge Impulse CLI that contains the edge-impulse-data-forwarder tool for easily sending the data from the accelerometer to the Studio. After ensuring both Python 3 and Node.js version 14 or above are installed on your computer, run:
```$ npm install -g edge-impulse-cli --force```You can follow the instructions here if you’re using a Debian Linux-based OS. If everything went smoothly, the tools should now be in your `PATH` environment variable. Make sure to create a new Accelerometer data Edge Impulse project as well.
Collecting motion data
To demonstrate how to use the Swan with Edge Impulse’s Studio, this project will incorporate the LSM9DS1 IMU for capturing acceleration data.
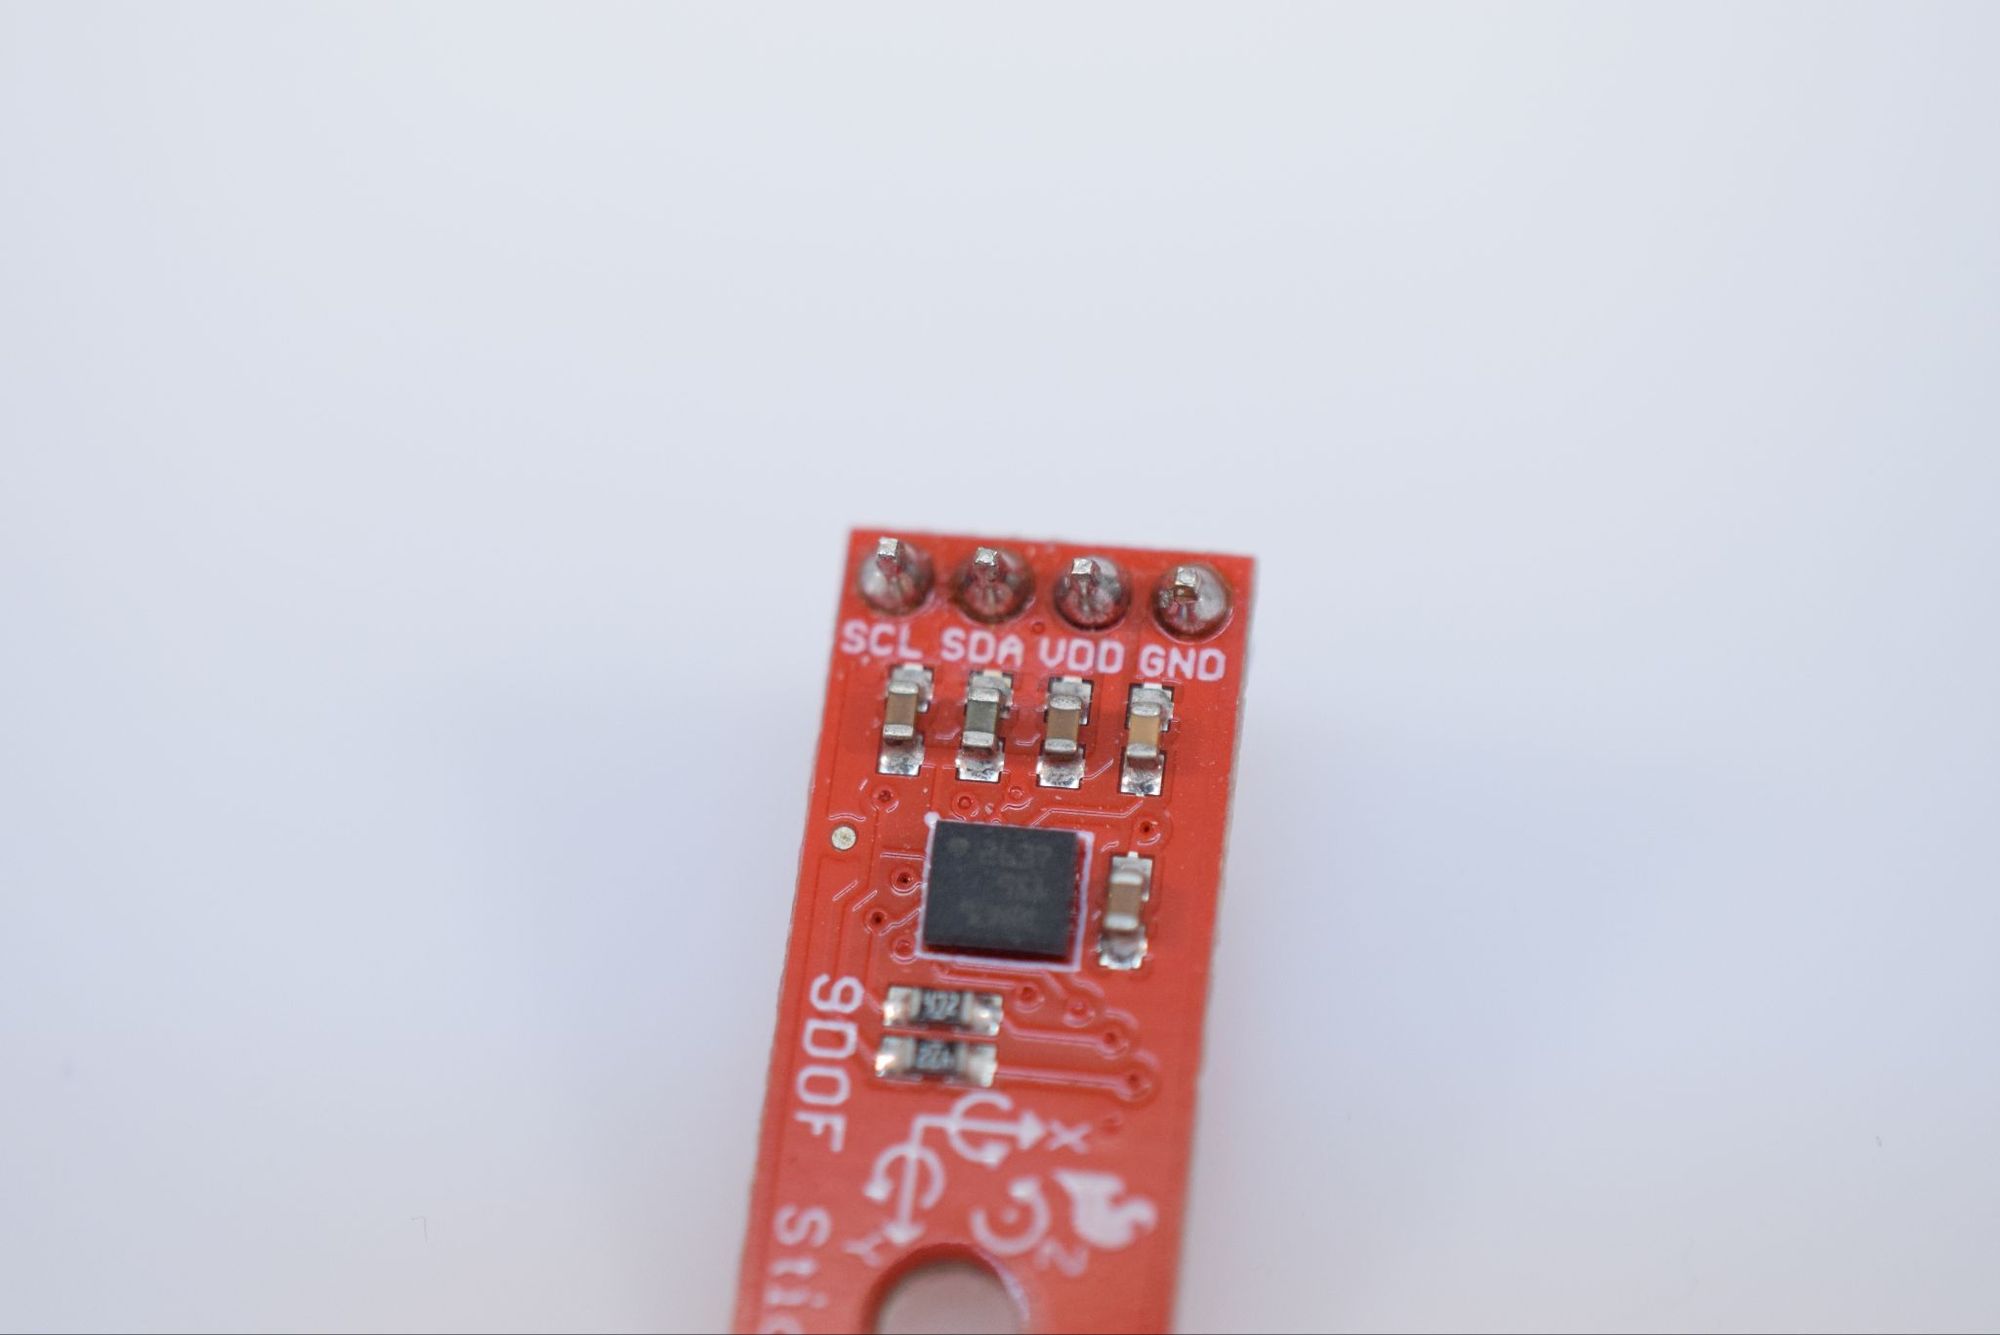
To start, connect the sensor’s SCL and SDA pins to the corresponding ones on the Swan, as well as the VDD to 3V3 and GND to GND. There are two programs in the GitHub repository for the project: one for capturing the data from the LSM9DS1 and the other for running the model. Load the first into the Arduino IDE and upload it to the board by plugging in the Swan via USB, then holding the `BOOT` button, and finally pressing the `RESET` button to jump to the bootloader mode. The code causes the Swan to output 85 samples every second via serial which are then read by the Edge Impulse Data Forwarding utility. Now all you have to do is run:
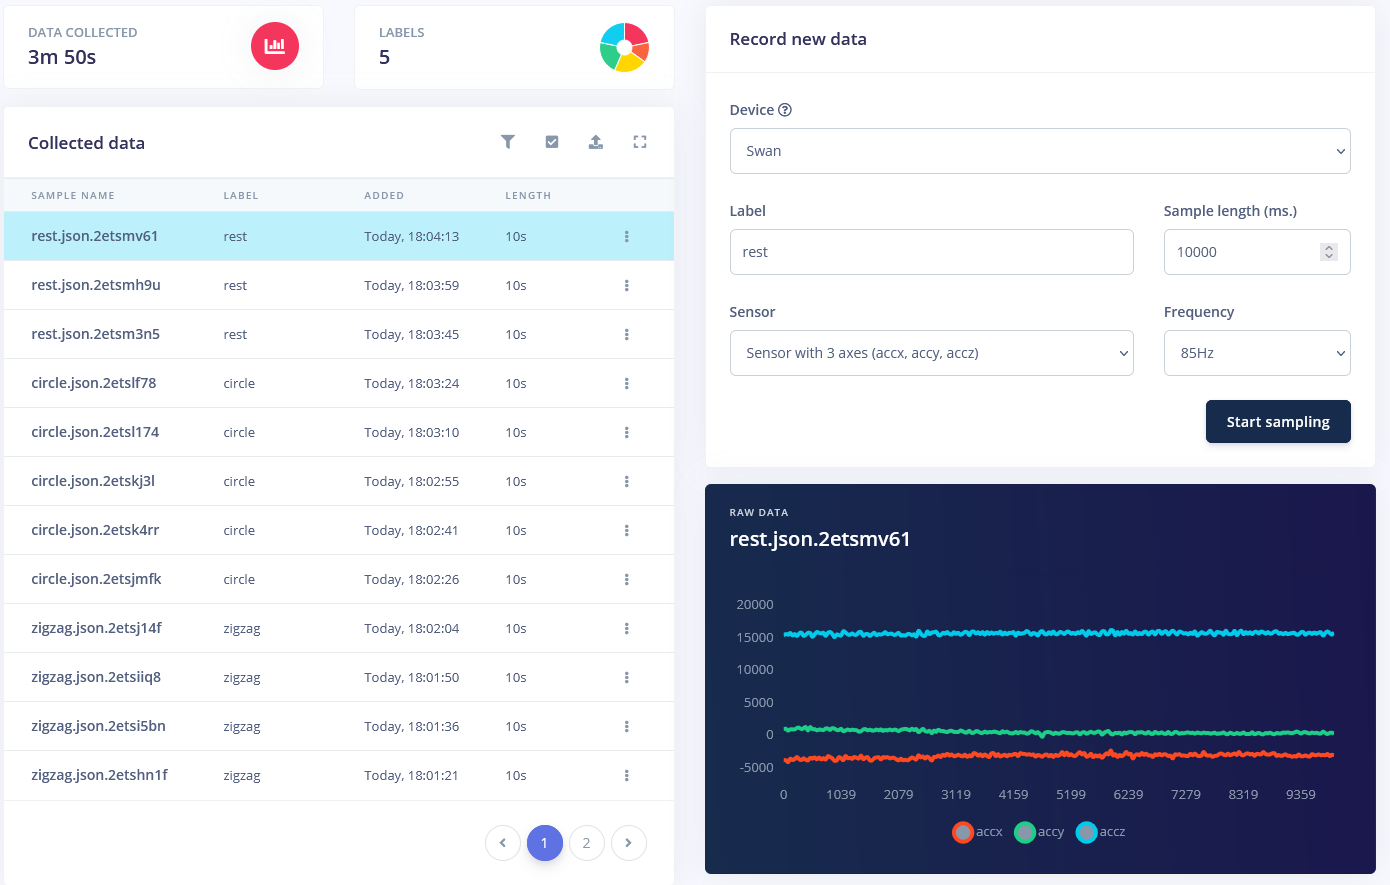
```$ edge-impulse-data-forwarder```in a terminal, log into your Edge Impulse account, and select the project you created in the previous section. Once you have named all three automatically-detected axes (’accX`, `accY`, and `accZ` are fine), you can begin sending this data to the data acquisition page. I chose to have four gestures along with a few ‘rest’ samples for when the board isn’t being moved. Around 180-250 seconds per gesture should be sufficient, although more samples will yield more accurate results, generally.
Generating features
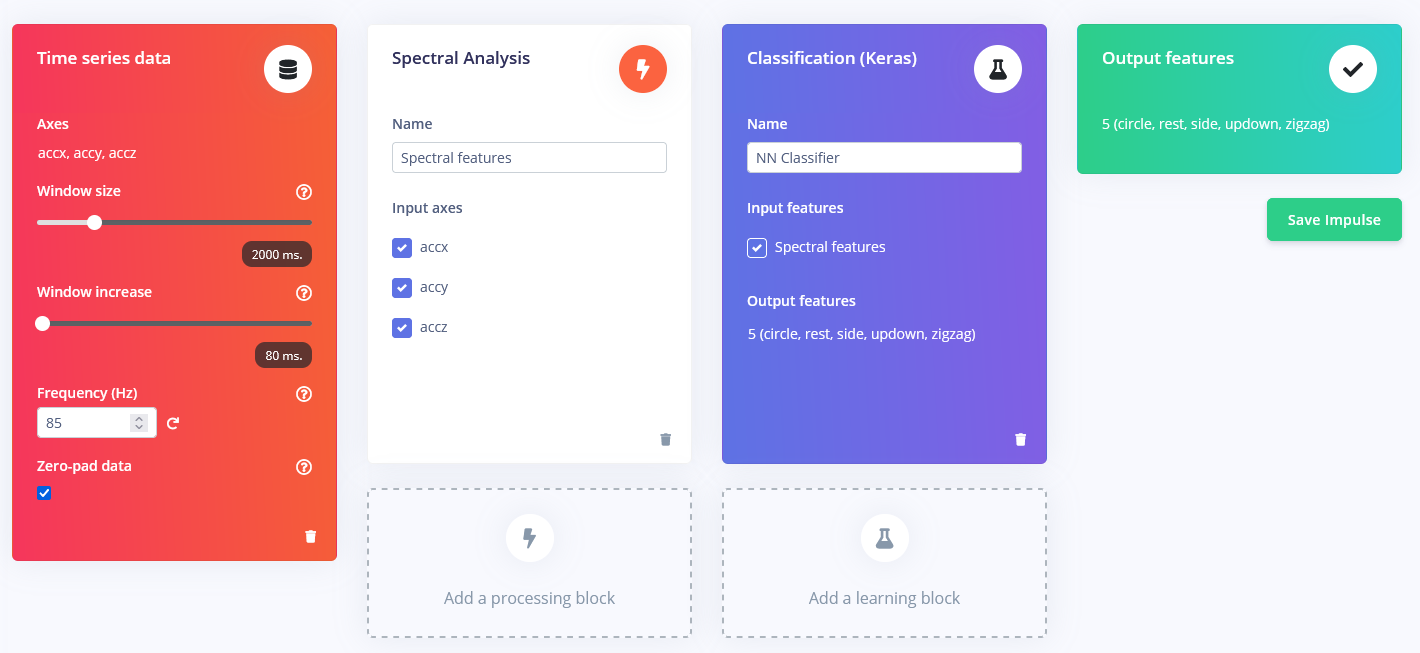
The impulse for the project is composed of four blocks, with the first being a “raw data” block that takes in the three accelerometer axes, splits them into windows that are 2000ms large, and have a window increase size of 80ms. This data is then passed along to a spectral analysis block which uses a low-pass filter to remove noise and generate features to train the model.
Training a model
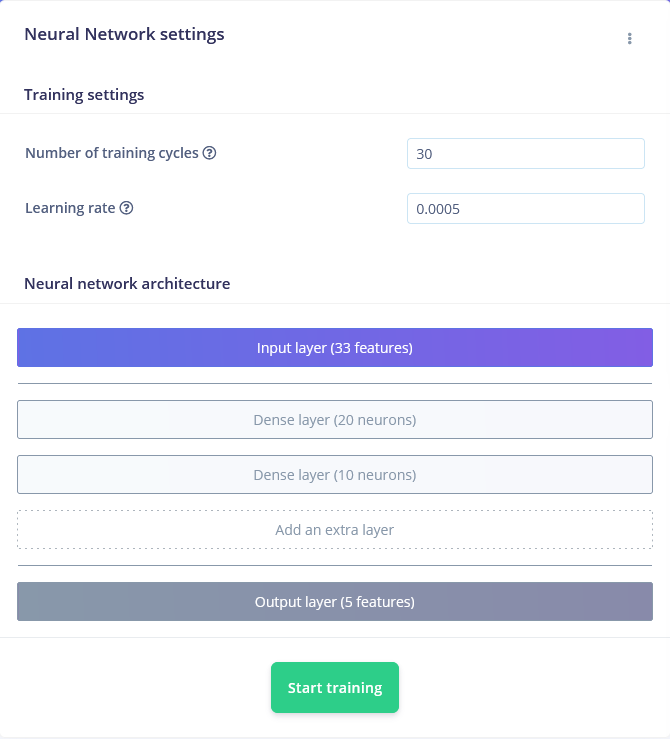
As the final step, there is a Keras neural network that takes the features from the preceding spectral analysis block and adjusts the weights of its neurons within several layers. I configured mine to perform 30 training cycles at a learning rate of 0.0005, which led to an accuracy of 86.3%.
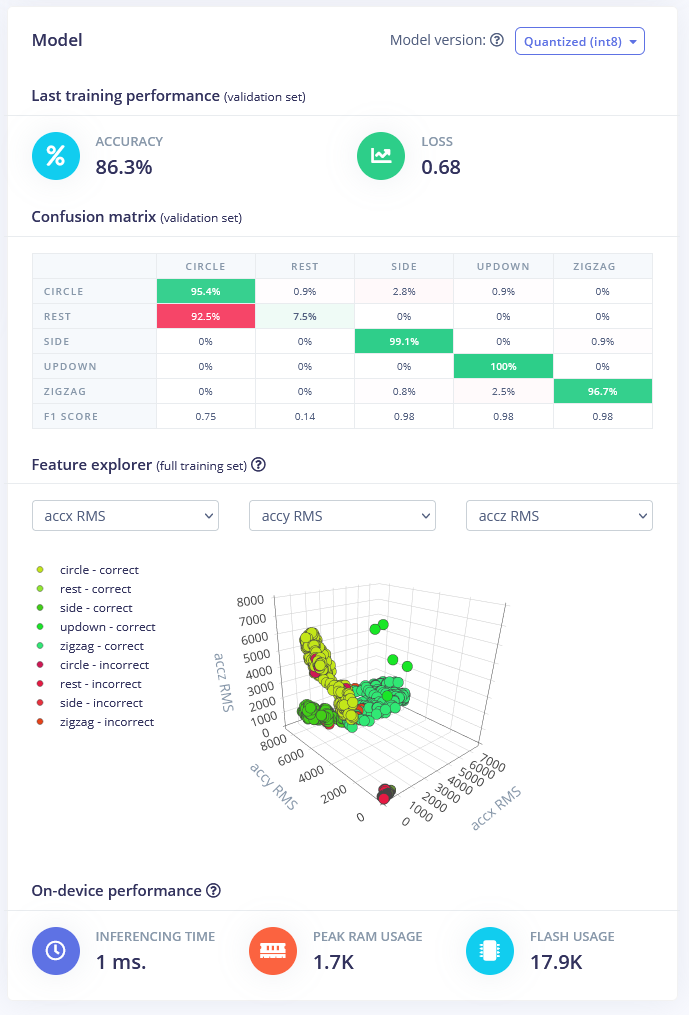
You can see the project I created here on Edge Impulse, along with the data I collected and the resulting model for quickly getting started.
Deployment to the Swan
I exported the model in the form of an Arduino library from Edge Impulse’s Deployment tab, which was then added to the Arduino IDE by going to Sketch > Include Library > Add ZIP Library… and browsing to the ZIP file that was downloaded from Edge Impulse. With it added, I added the following code on line 28 within the `src/edge-impulse-sdk/dsp/config.hpp` file just after the `#ifndef EIDSP_USE_CMSIS_DSP` statement:
```#define EIDSP_USE_CMSIS_DSP 1
With that done, I included it in a new sketch that you can find here on GitHub. This new program needs an SSD1306 OLED connected via I2C using the same pins the LSM9DS1 are attached to.
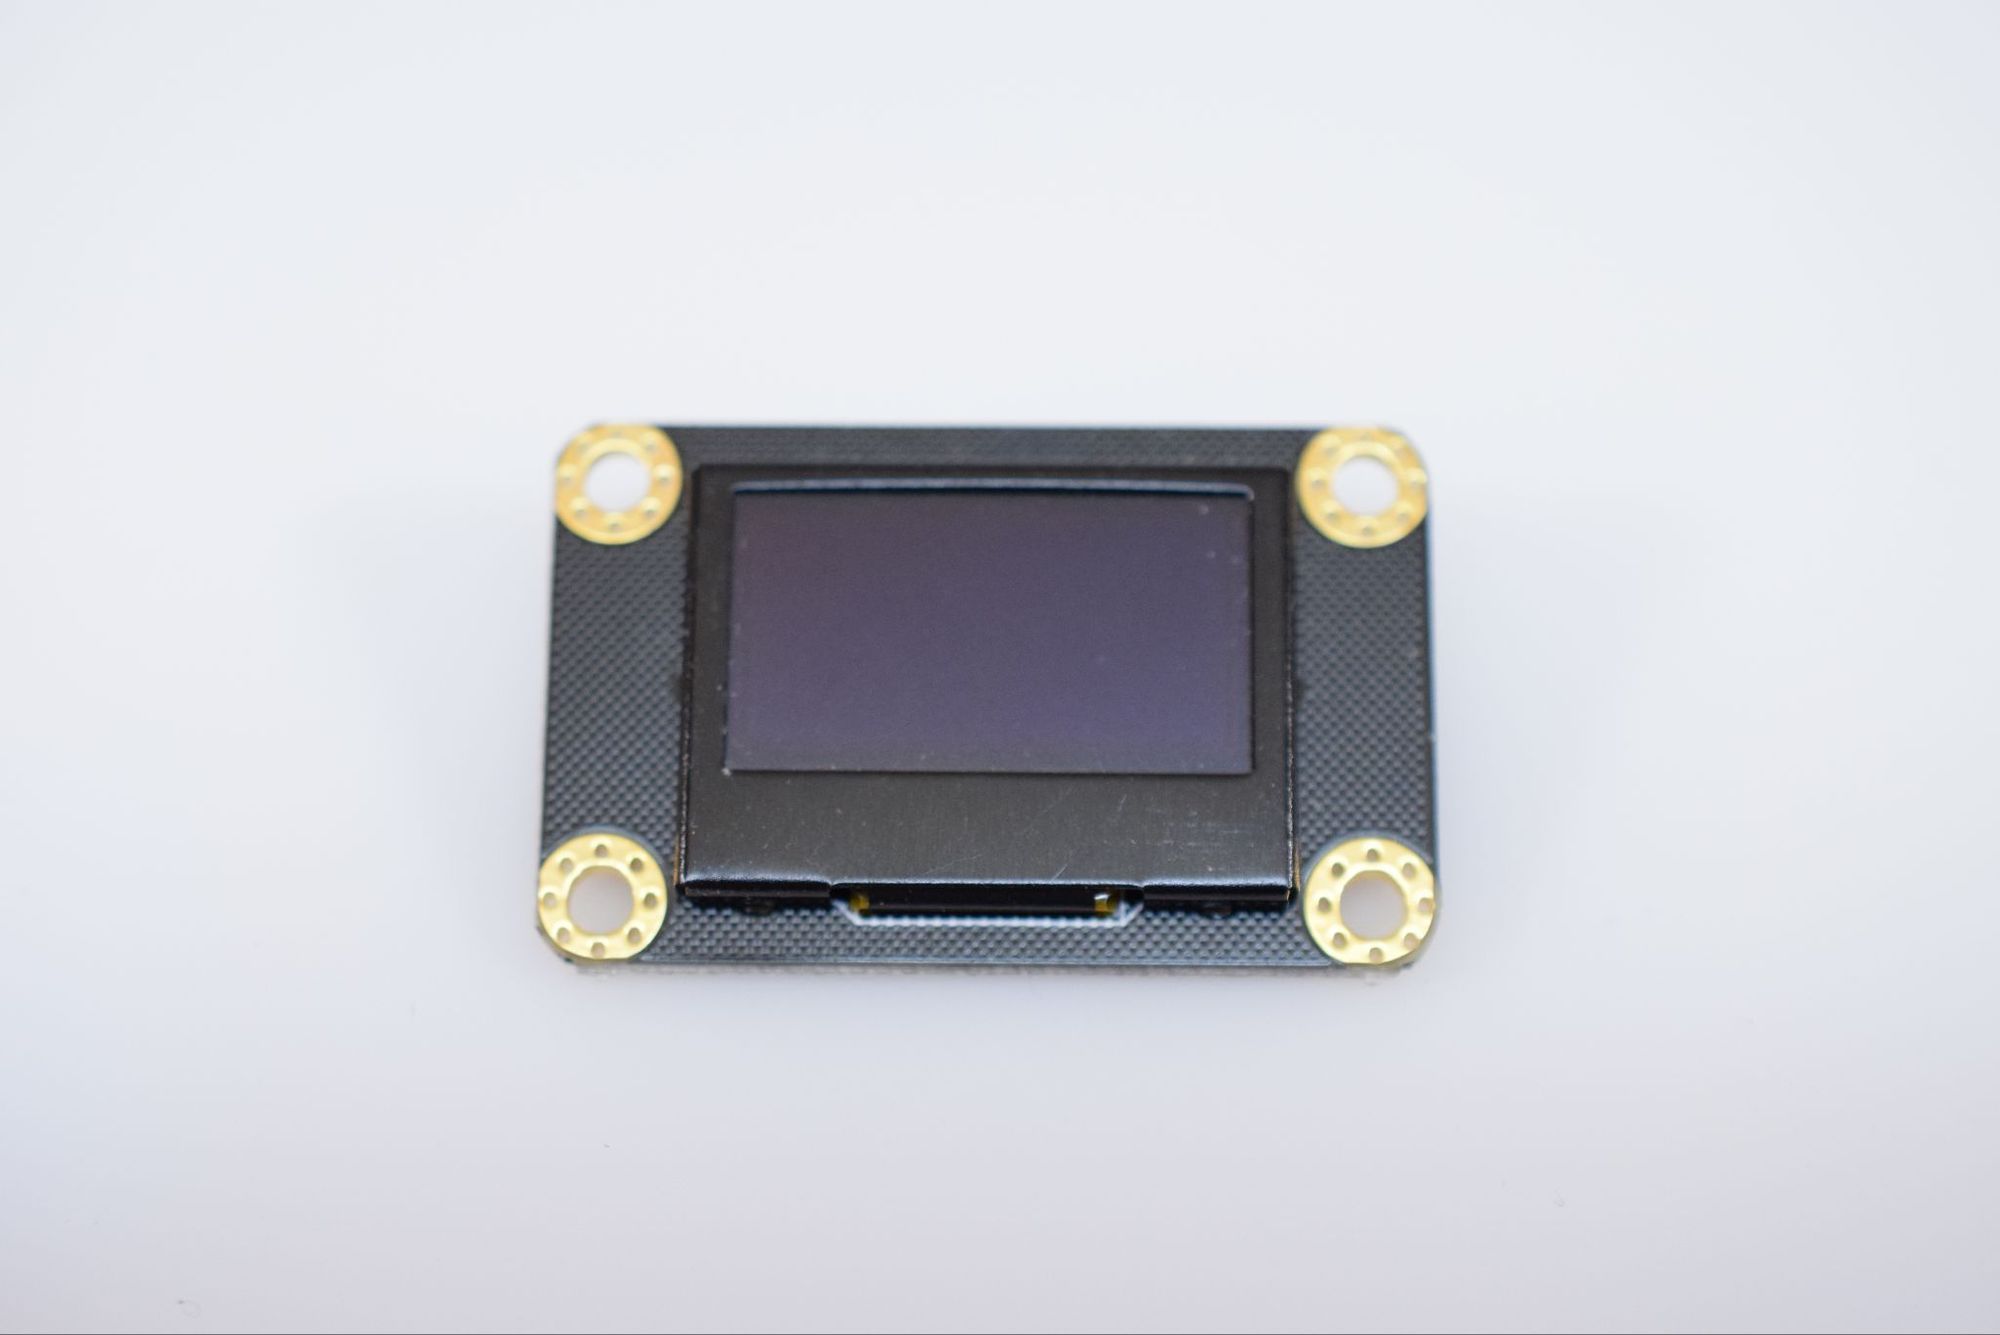
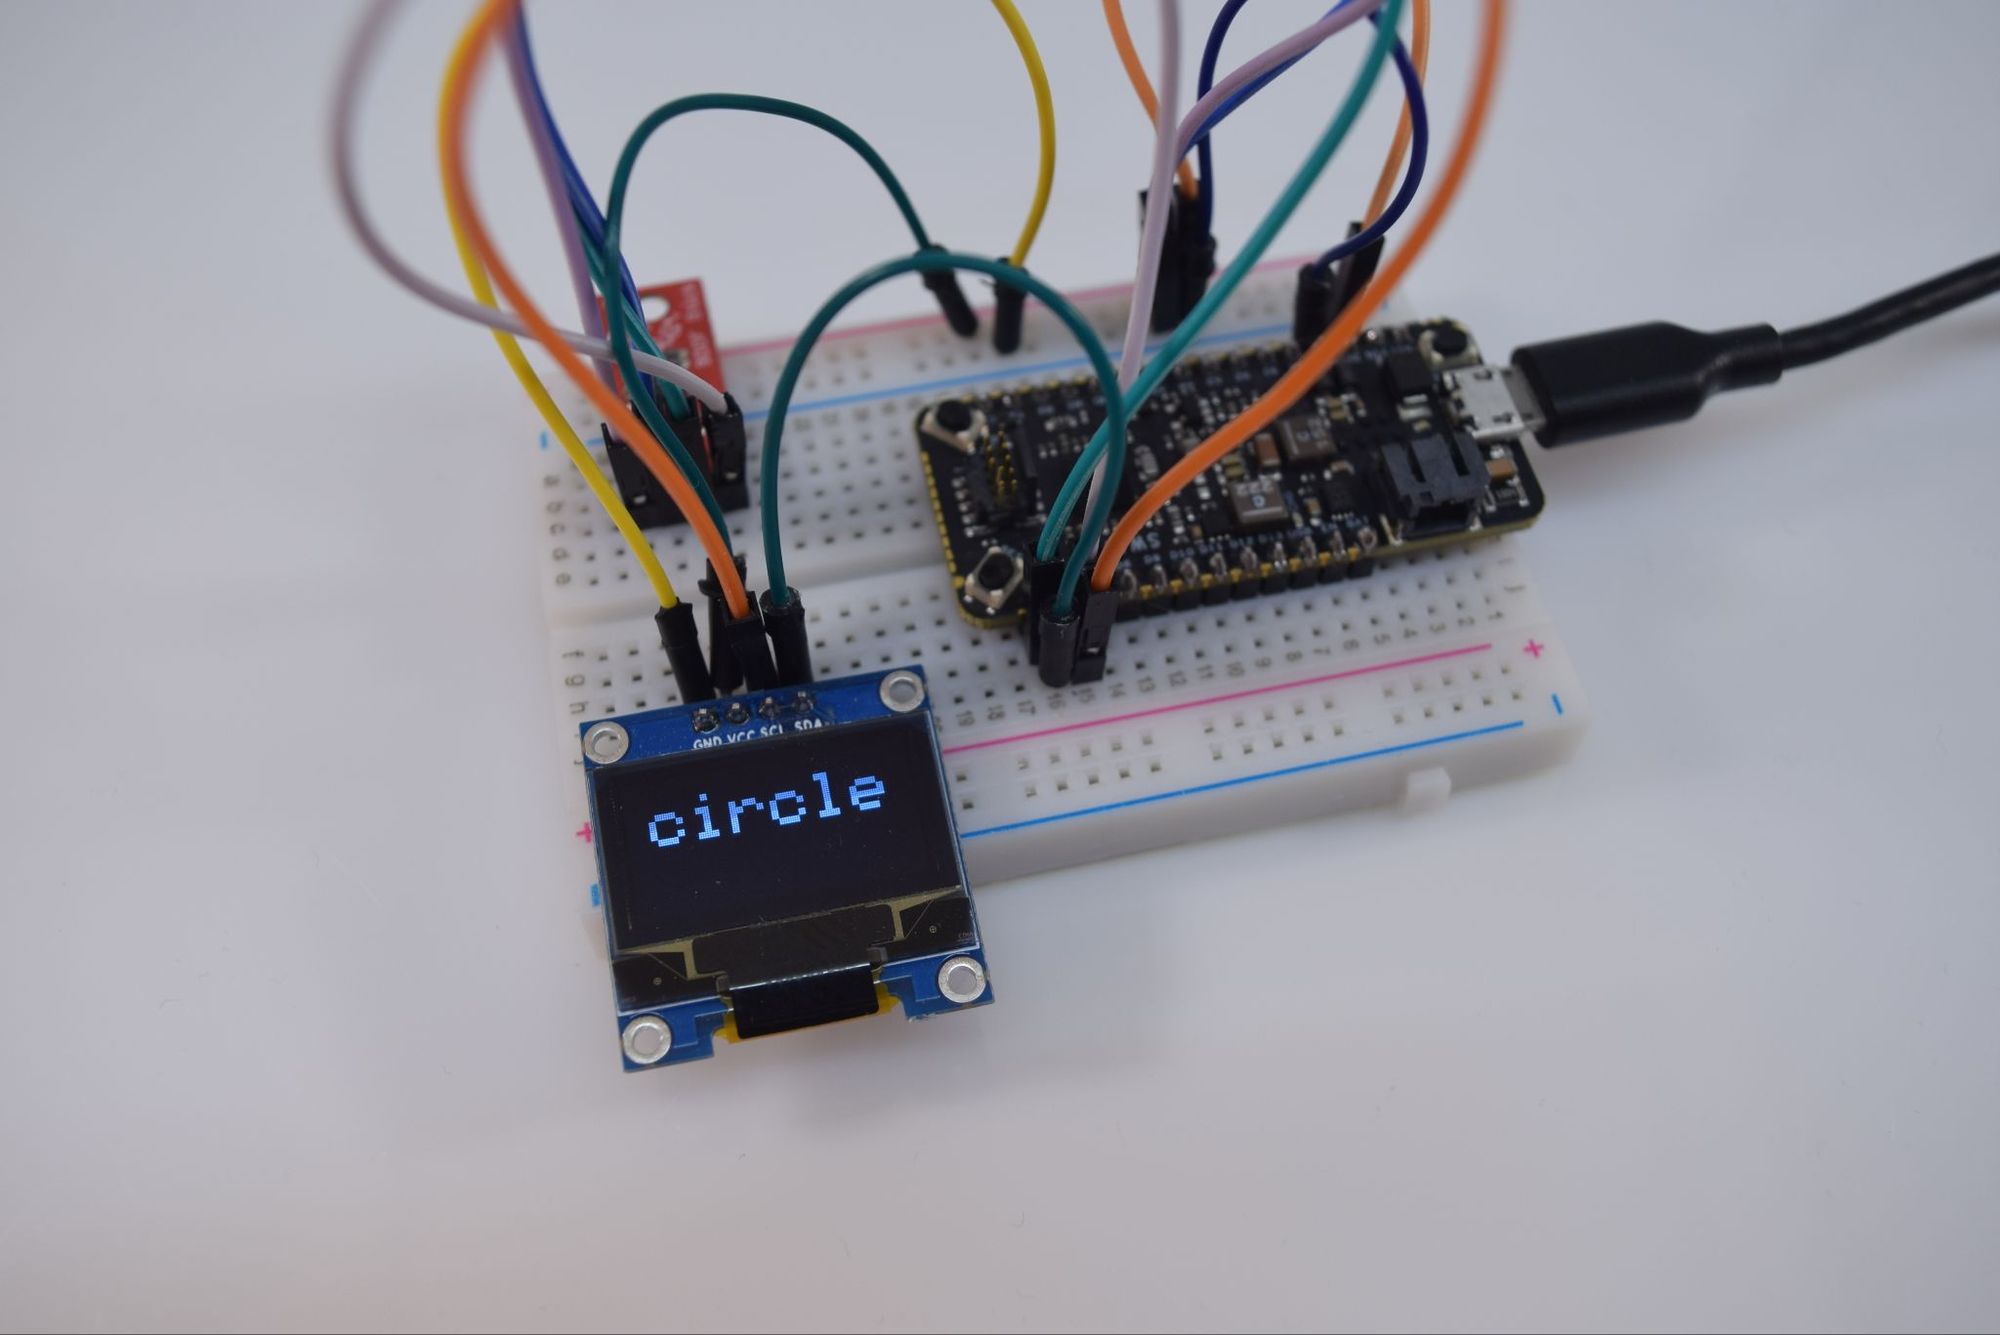
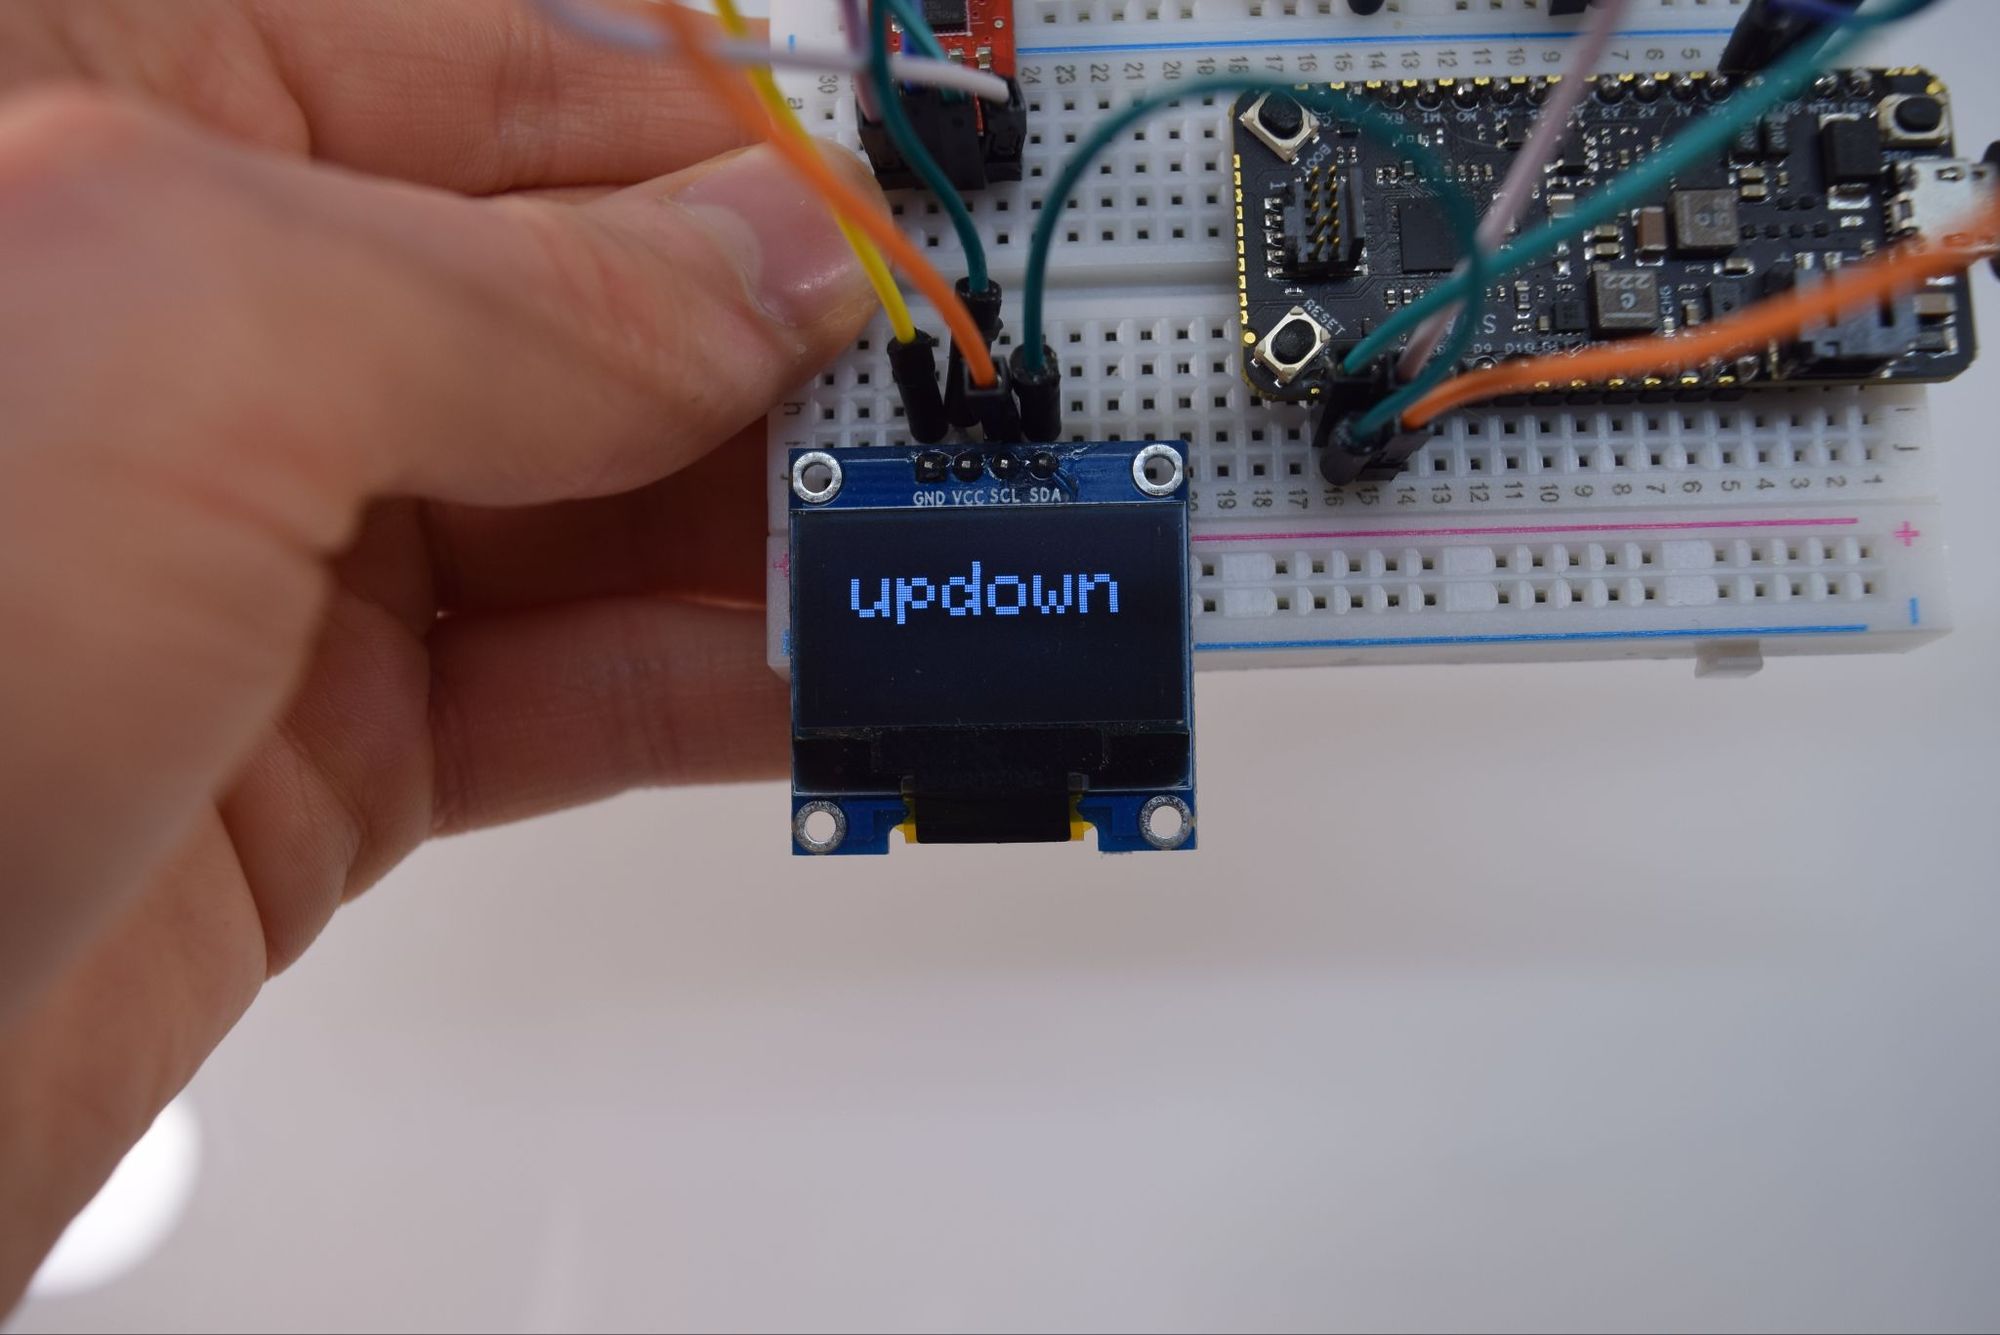
In essence, the code initializes both I2C devices and begins reading samples from the accelerometer. Once there are enough values in the buffer, they get passed to the model via a signal_t object, where the results can be read from an ei_impulse_result_t object that contains the classification certainties for each label. The OLED screen then shows the most probable gesture being performed.
Developers also have the opportunity to use an STLink programmer such as the STLink-V3Mini to debug their applications step-by-step. You can follow the directions found here to set up Visual Studio Code to do this under the “Using VSCode” header.
Where to go from here?
The Swan is a highly-capable development board that has great potential for many different kinds of machine learning applications. Its STM32L4R5ZI contains ample amounts of both flash storage and RAM for running larger models, and the large number of external peripherals means controlling numerous other components is extremely easy. For more information about the Swan, be sure to check out Blues Wireless’ site.
