
In the rapidly evolving intersection of machine learning and mobile development, building apps that integrate AI can significantly enhance user experience and tackle real-world problems. One area where machine learning is making an impactful difference is in healthcare. Detecting lung diseases, particularly pneumonia, from X-ray images is a challenging but crucial task that can aid healthcare professionals in saving lives.
In this blog post, I’ll walk you through the entire process of training a lung disease classifier using deep learning and deploying it into a real Android application. This guide is specifically crafted for Android developers looking to seamlessly integrate machine learning models into their apps and ML engineers who want to explore the practical deployment of models on mobile devices
You might be wondering, “There’s so much content out there about deploying models on mobile devices, why this one?” Here’s the unique value of this post:
- Real-World Relevance: We’ll work with a health-related problem — detecting pneumonia in chest X-rays — making the content not just about learning technical skills but also about applying them to solve impactful issues.
- Practical for both Android and ML engineers: While there’s a ton of content on Android development and Machine Learning separately, this post combines both in a hands-on, real-world example that Android developers can follow to integrate AI into their apps and ML engineers can apply the techniques in the field of healthcare and learn about deploying models on Android.
- End-to-End Flow: You won’t just learn how to train a model or how to deploy it. You’ll see the entire pipeline — from dataset ingestion and training a CNN model to deploying it on an Android app.
Let’s get into it!
Dataset Selection and Preprocessing — Kaggle
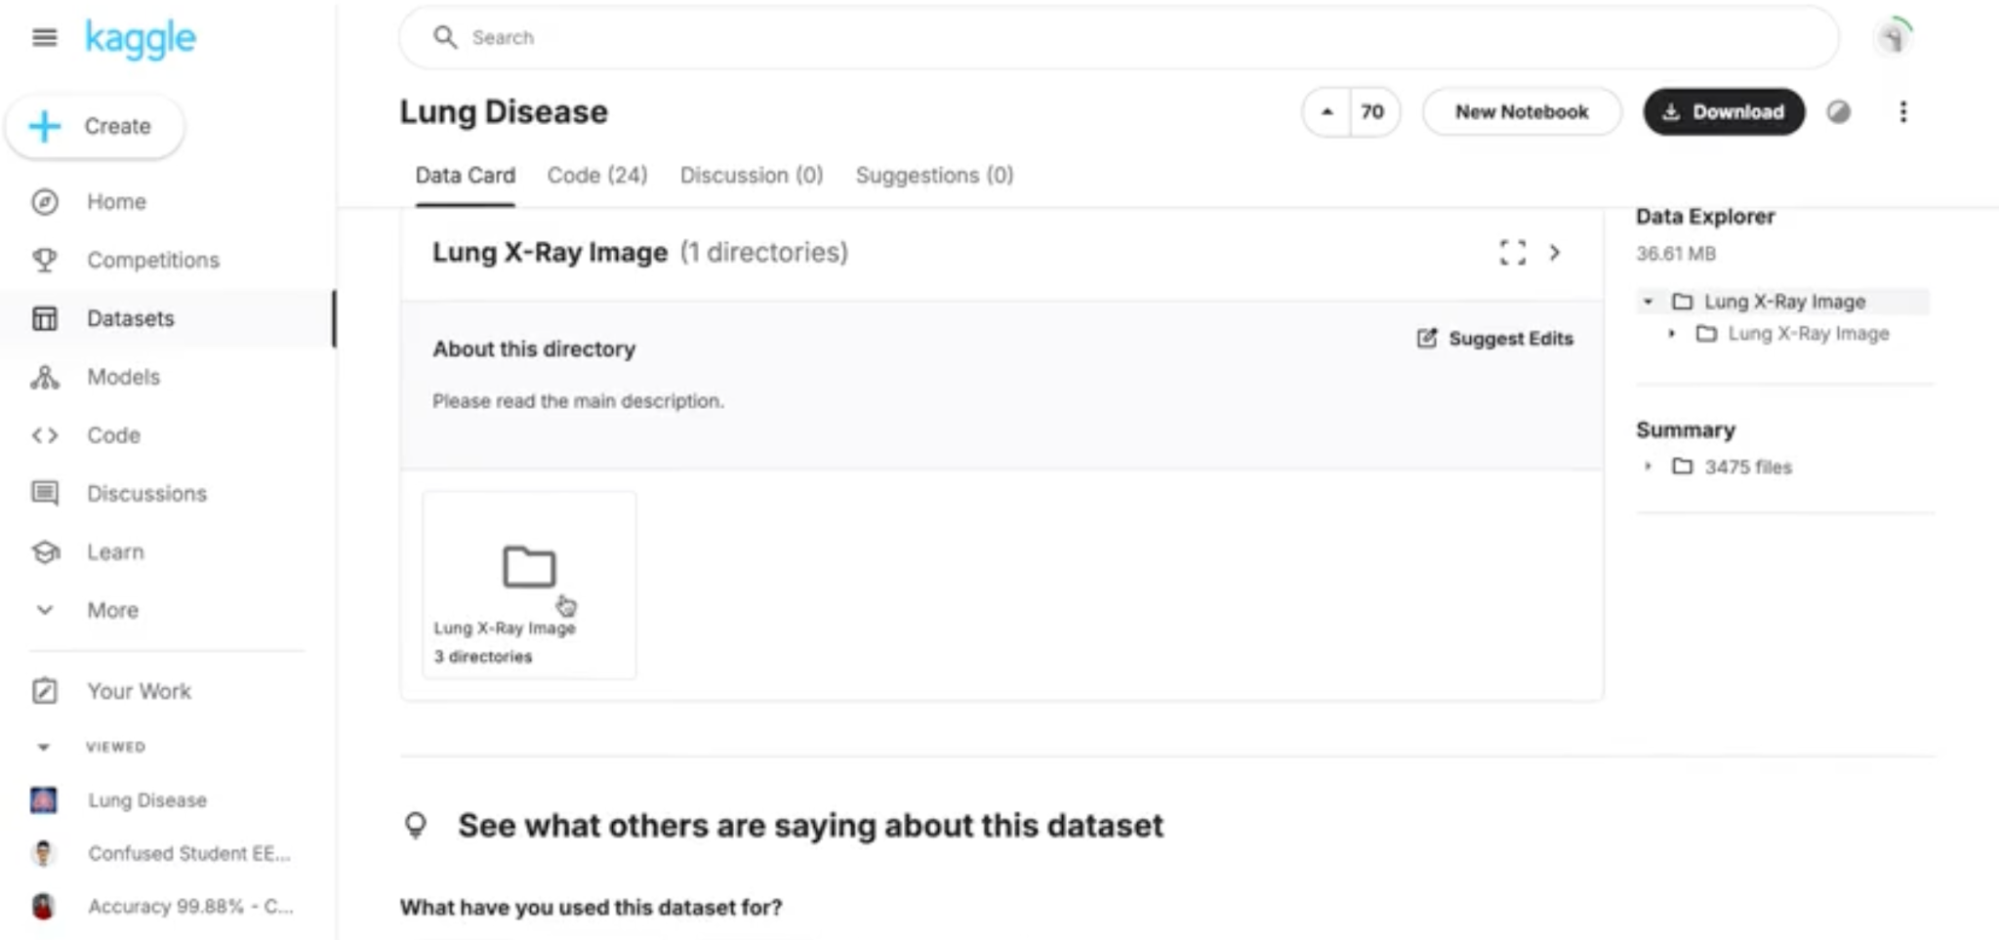
The first step in building a machine learning model is obtaining quality data. For this project, we’ll use the Kaggle pneumonia dataset, which contains chest X-ray images categorized into two classes: Normal (healthy lungs) and Pneumonia (infected lungs)
Why is this step critical?
For machine learning models, data is everything. The quality and quantity of data directly influence the model’s performance. In this case, Kaggle provides a well-labeled, publicly available dataset, which saves time in data collection and preprocessing.
How is this project different?
What sets this project apart from generic image classification projects is that it uses a deep learning model on medical images along with the power of Edge Impulse to ensure the trained model fits your android device. Additionally, working with medical data has its own challenges such as the need for higher accuracy and interpretability, making it ideal for exploring the real-world impact of AI.
Data Ingestion and Feature Generation — Edge Impulse
Instead of starting from scratch, we’ll leverage Edge Impulse, a platform that simplifies the machine learning workflow, especially for edge devices like Android smartphones.
Why Edge Impulse?
For Android developers who may not have extensive experience with training models from the ground up, Edge Impulse abstracts a lot of complexity. You can quickly upload images, generate features, and train a model with minimal setup. Plus, it gives you access to tools like synthetic data augmentation, EON Tuner, model versioning and much more..
How is this step different?
Edge Impulse’s support for mobile devices in addition to resource constrained devices like MCUs and NPUs, is one of the standout features. It’s designed to optimize models specifically for deployment on edge devices, which is exactly what we need for this Android app. This makes the process of creating a model ready for Android deployment significantly easier than traditional machine learning pipelines.
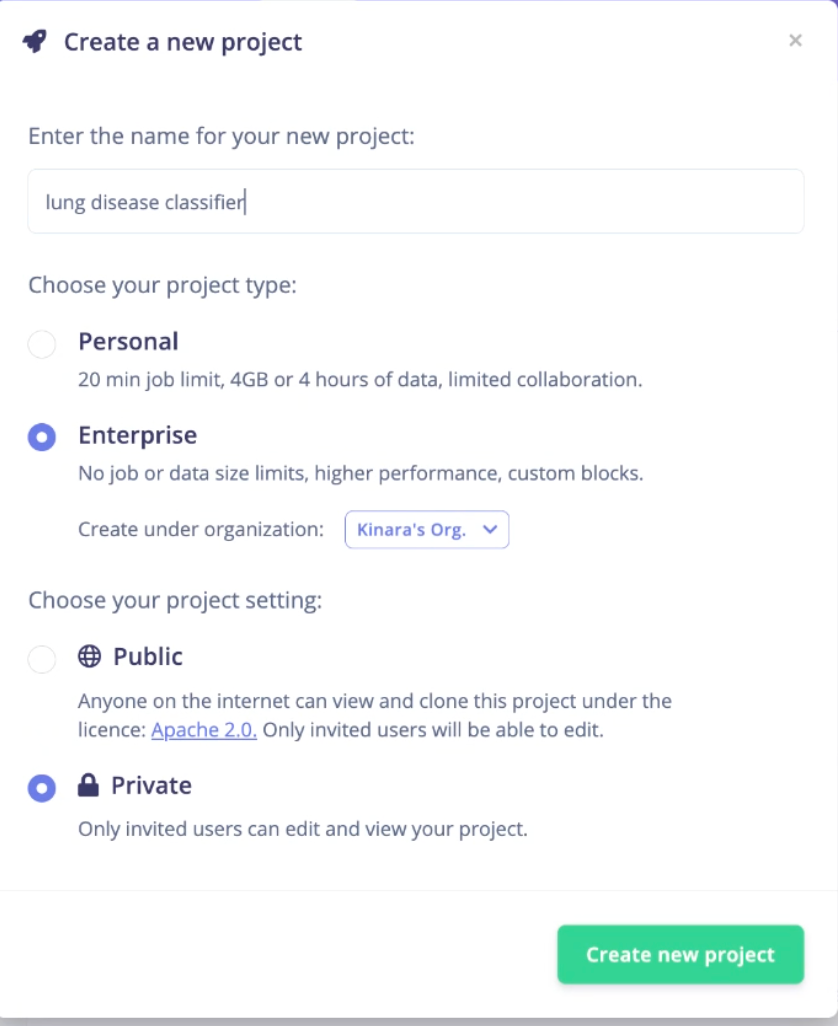
- Create a Project: Create an account at Edge Impulse and set up your project
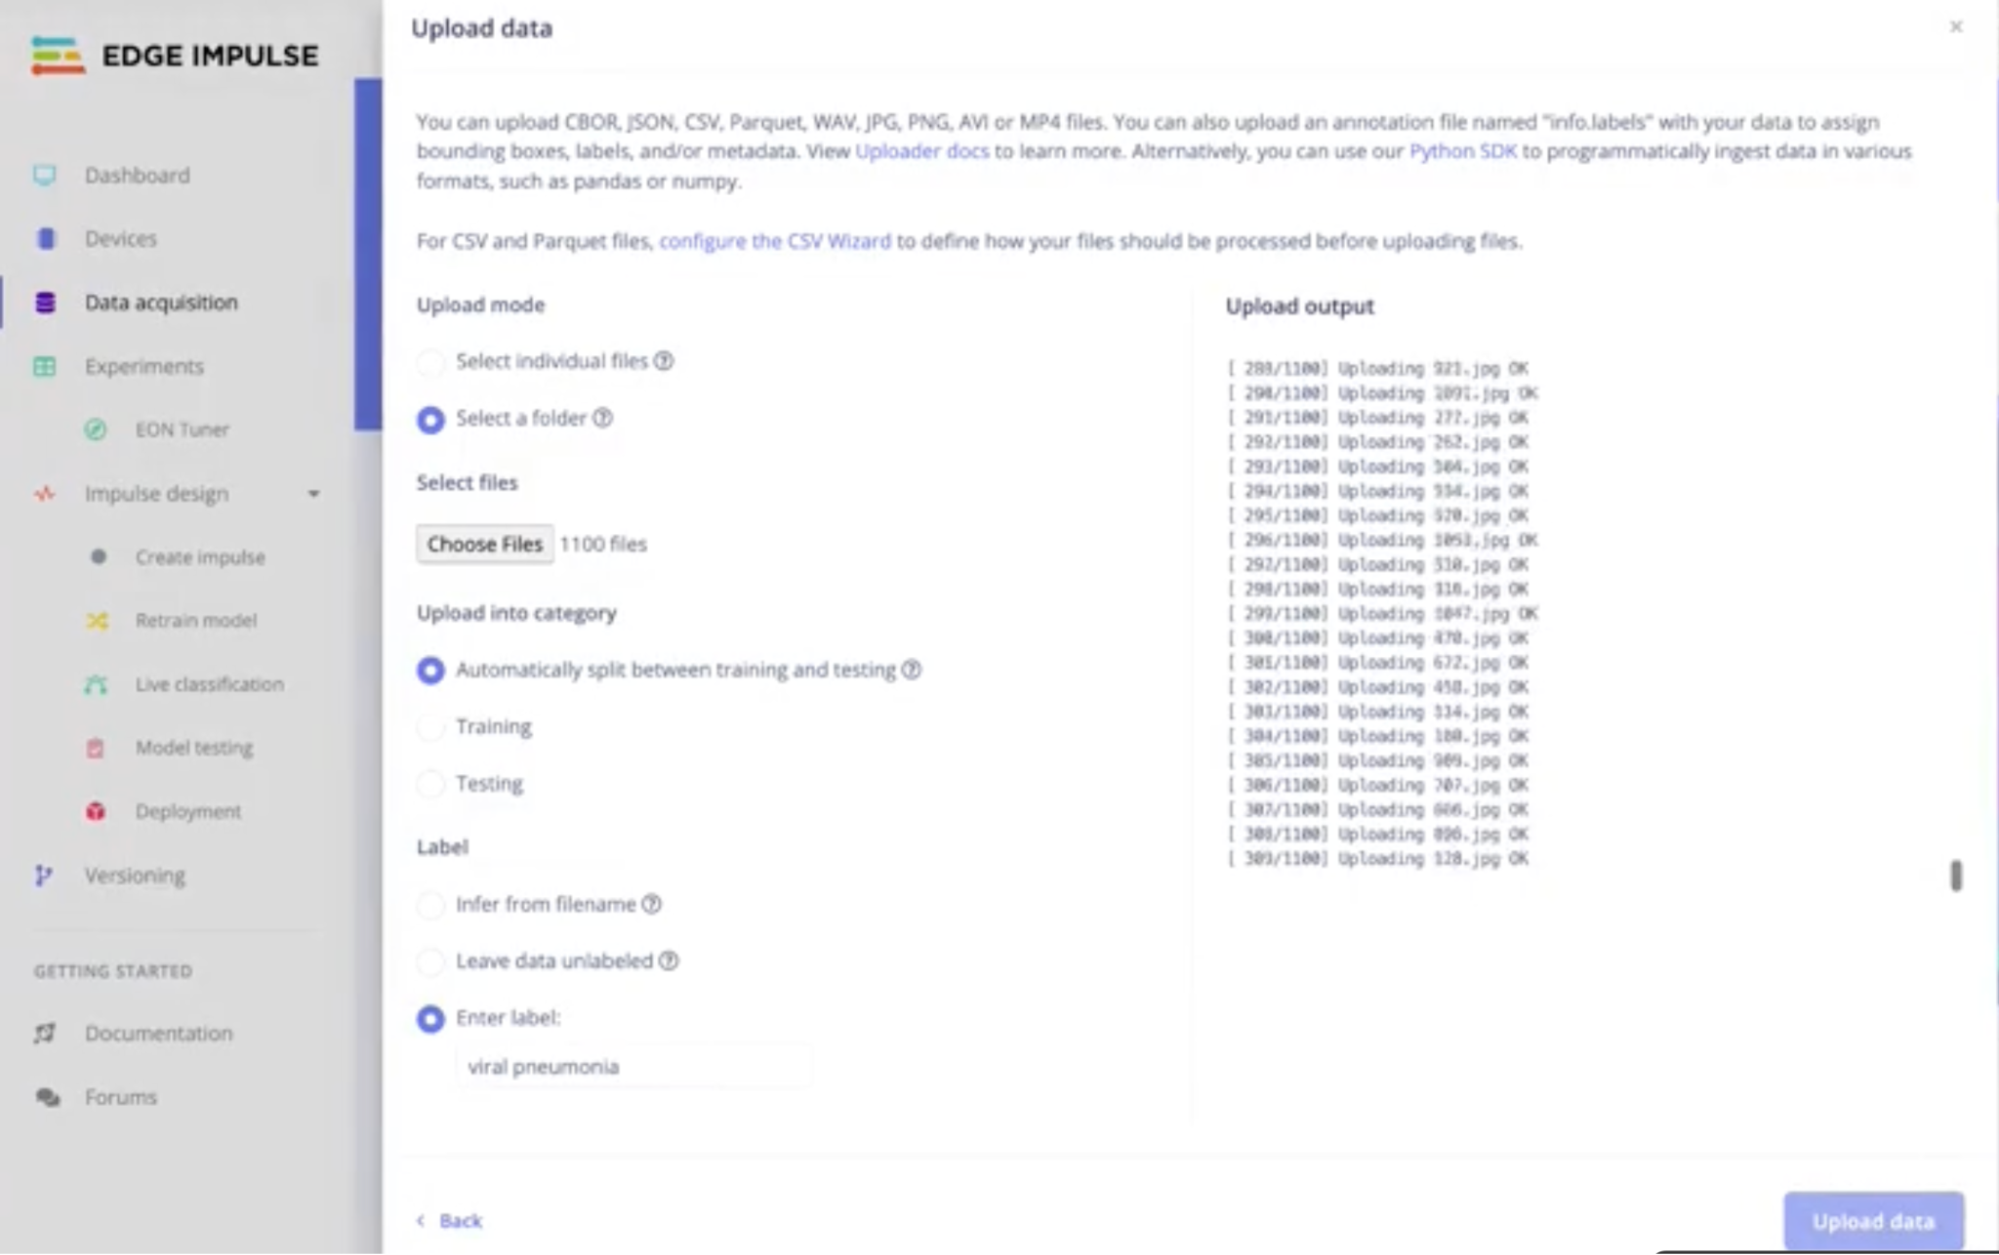
- Data Upload: Upload the downloaded dataset and upload it by class (Normal vs Pneumonia).
- Feature Generation: Edge Impulse handles the tedious task of transforming raw images into features suitable for machine learning
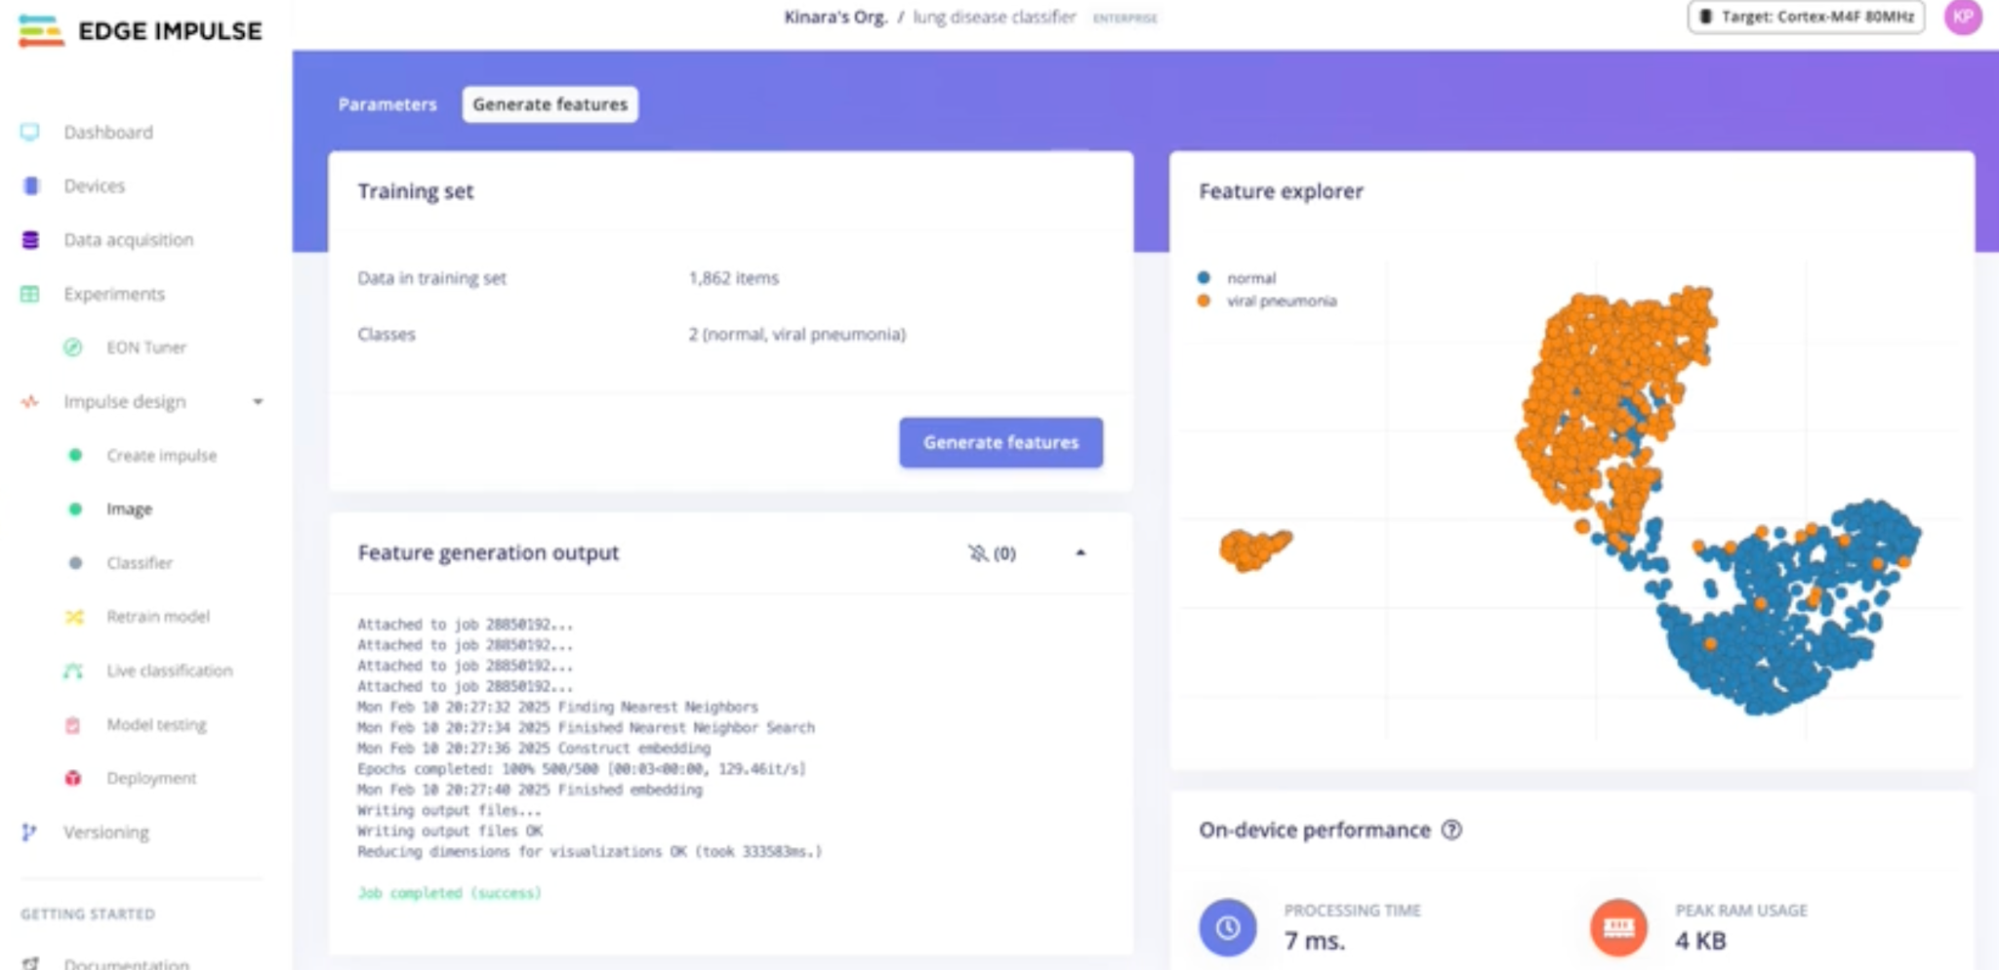
Edge Impulse’s integrated feature explorer visualizations help you understand class separability even before training, ensuring that the model will not be confused between the two classes.
Training the Model — Convolutional Neural Networks (CNN)
The next critical step is training a Convolutional Neural Network (CNN). CNNs are excellent for image classification tasks like this, as they can learn spatial hierarchies of features in images, making them perfect for detecting pneumonia from chest X-rays.
Why CNN and why this architecture?
We use a simple yet effective CNN architecture in this project, which consists of:
- Conv2D layers for feature extraction from the image
- MaxPooling layers to reduce dimensionality while retaining important features
- A Dropout layer to avoid overfitting and ensure generalization
import tensorflow as tf
from tensorflow.keras.models import Sequential
from tensorflow.keras.layers import Conv2D, MaxPooling2D, Flatten, Dropout, Dense
from tensorflow.keras.optimizers import Adam

model = Sequential()
model.add(Conv2D(16, kernel_size=3, activation='relu', padding='same', input_shape=(96, 96, 3)))
model.add(MaxPooling2D(pool_size=2, strides=2, padding='same'))
model.add(Conv2D(32, kernel_size=3, activation='relu', padding='same'))
model.add(MaxPooling2D(pool_size=2, strides=2, padding='same'))
model.add(Flatten())
model.add(Dropout(0.25))
model.add(Dense(2, activation='softmax'))

model.compile(loss='categorical_crossentropy', optimizer=Adam(learning_rate=0.0005), metrics=['accuracy'])
model.fit(train_dataset, epochs=10, validation_data=validation_dataset, verbose=2)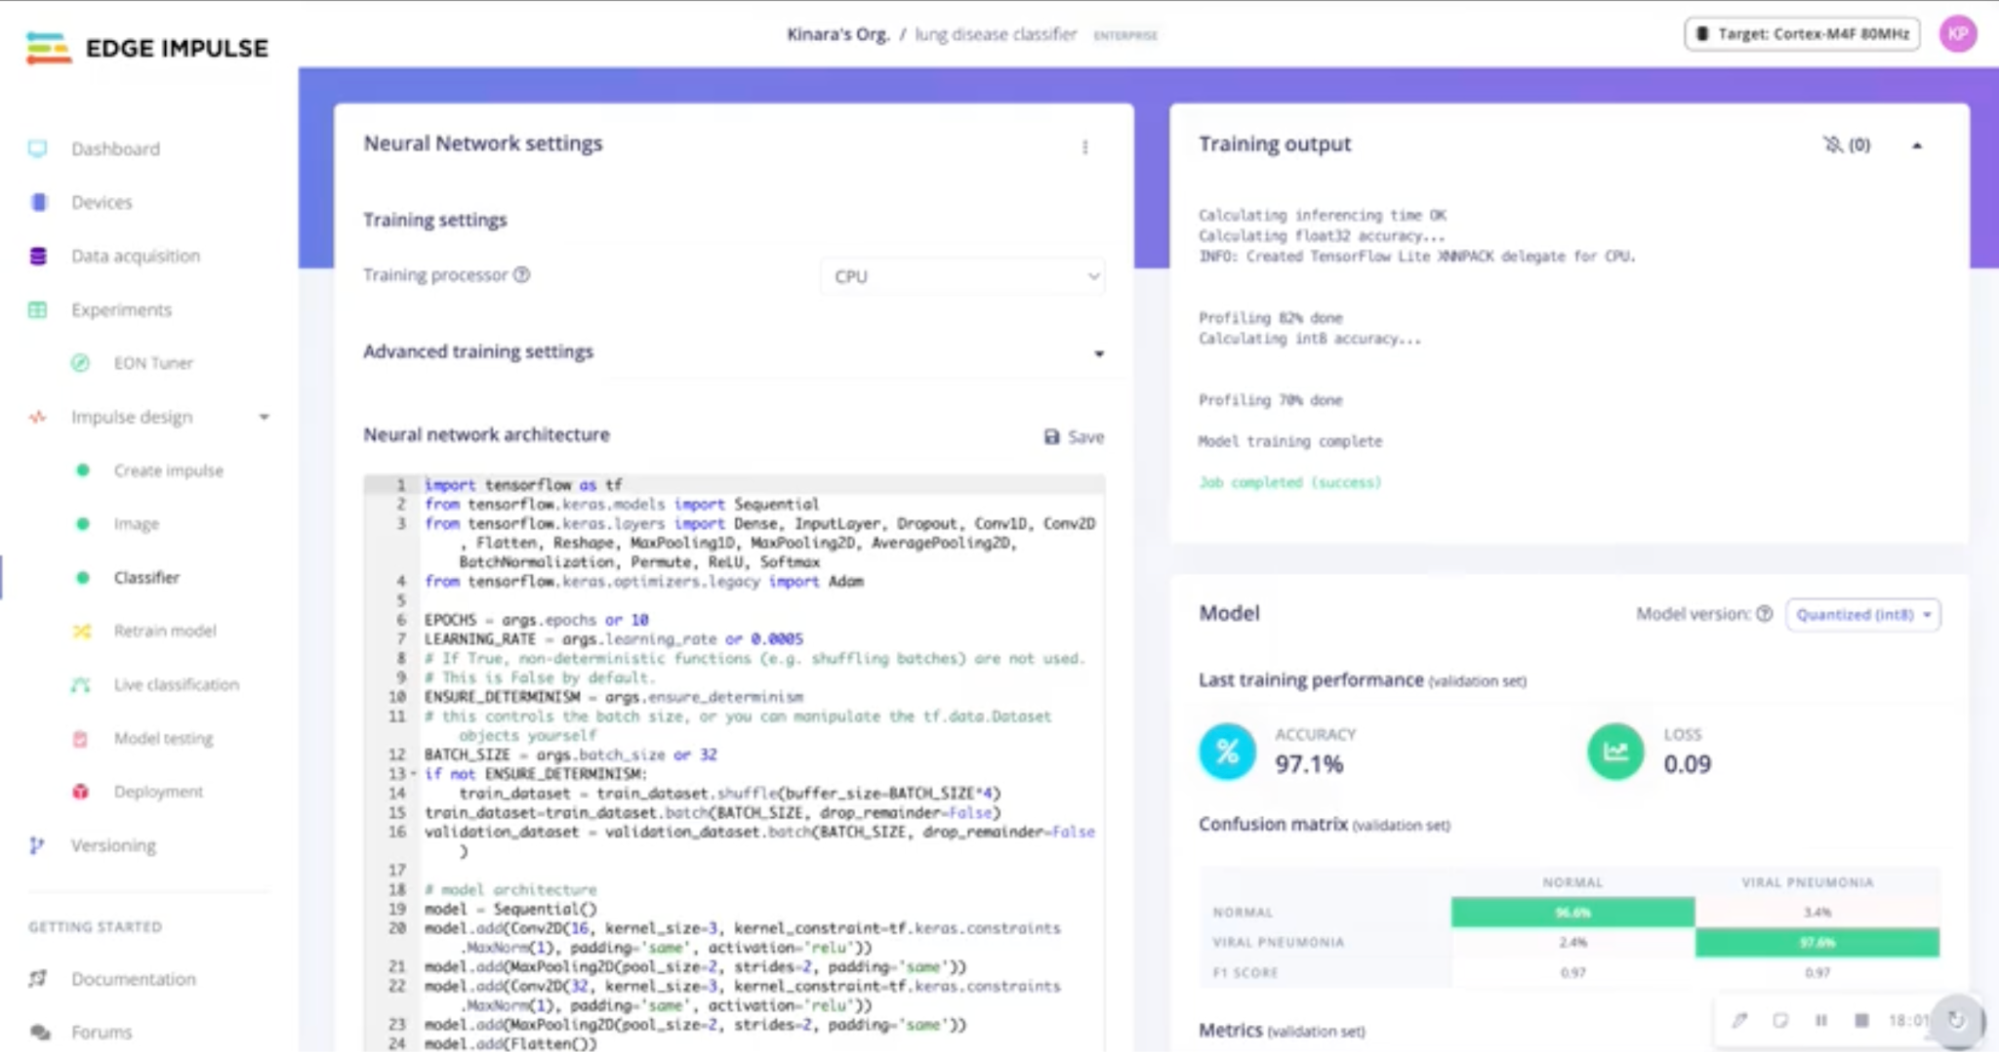
Why is this step important?
Training a model isn’t just about feeding data to a neural network; it’s about finding the right architecture and tuning the hyperparameters. This model achieved 97% training accuracy and 95% test accuracy, indicating that it’s generalizing well to unseen data.
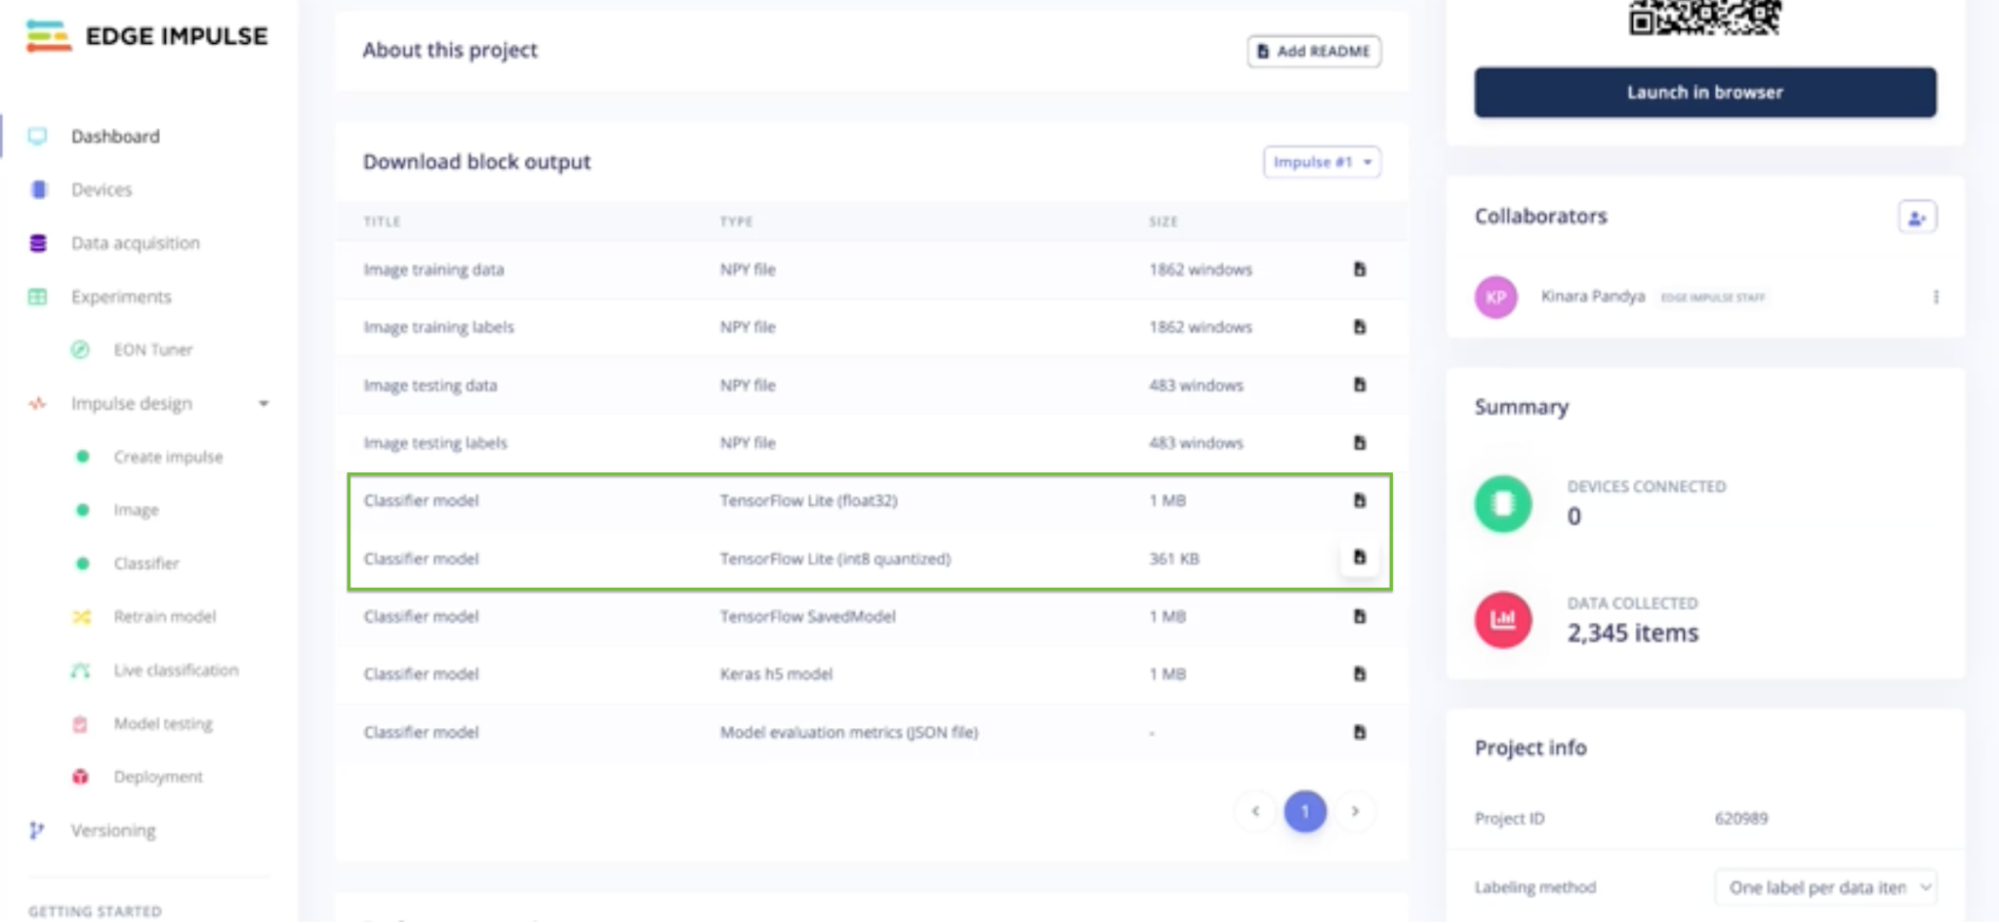
Download and Export the Model — TensorFlow Lite
After training the model, the next step is downloading the TensorFlow Lite model. TensorFlow Lite (.tflite) is the go-to format for deploying machine learning models on mobile and embedded devices. For further optimized inference on mobile devices with minimal latency and reduced memory footprint, refer to getting started example.
Why TensorFlow Lite?
TensorFlow Lite is specifically designed for mobile and edge devices, and it allows you to run the model efficiently on Android devices without requiring powerful cloud-based servers.
- In Edge Impulse, simply click to export the trained model as a .tflite file
- This .tflite file is what you’ll use for inference on the Android device
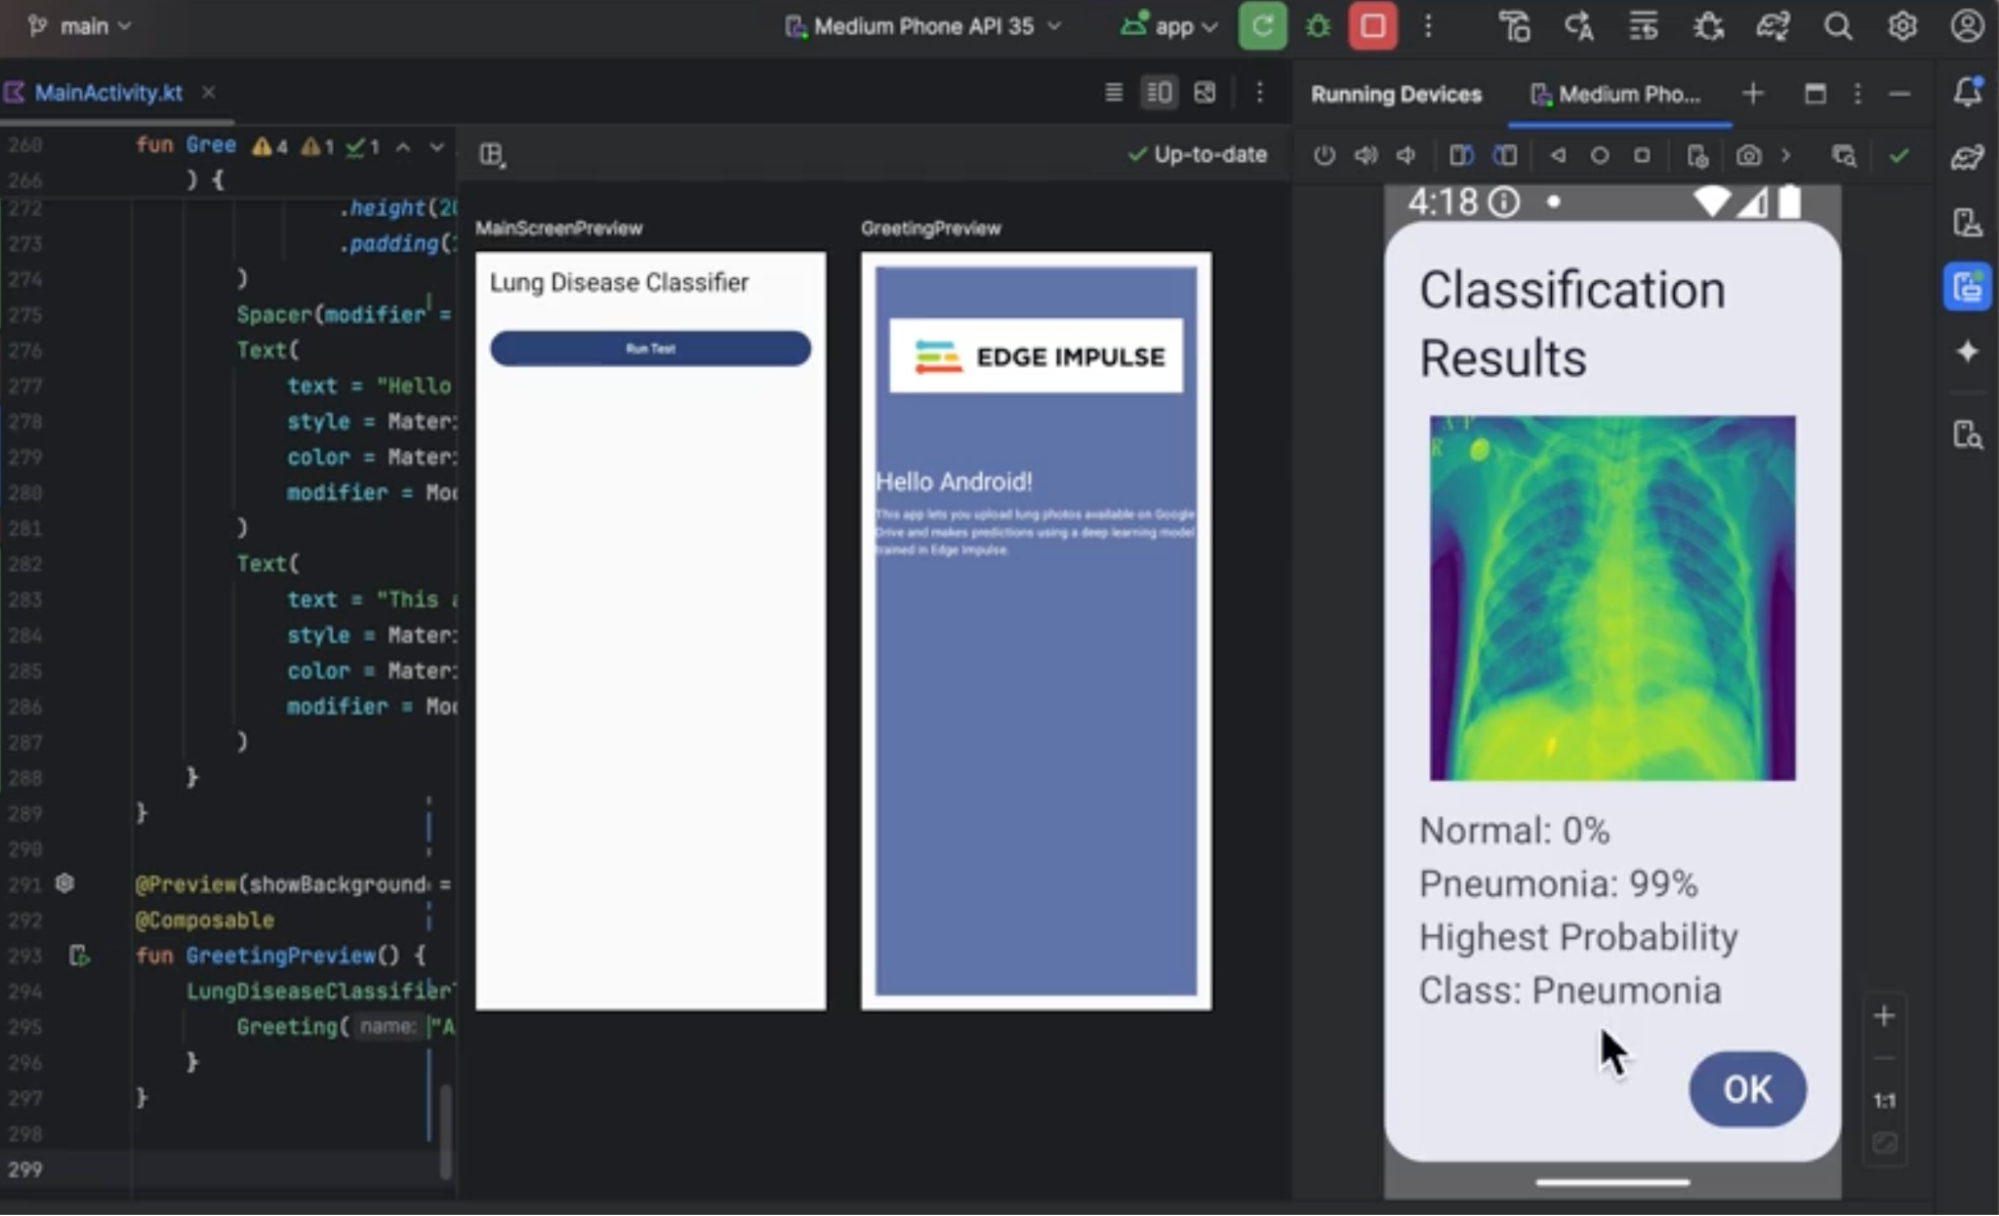
Deploying the Model in an Android App
Once you have the model, it’s time to integrate it into your Android app. The process is straightforward with Android Studio and TensorFlow Lite. For Android developers, this is the fun part, where you bring everything together!
Key Steps for Deployment:
- Add TensorFlow Lite to project dependencies in build.gradle:
dependencies {
    implementation 'org.tensorflow:tensorflow-lite:2.7.0'
}- Place the .tflite model in the assets folder of your Android project
- Load the model in your app using the TensorFlow Lite Interpreter API
Interpreter tflite = new Interpreter(loadModelFile());

// Running inference
float[][] result = new float[1][2];  // For binary classification: Normal, Pneumonia
tflite.run(inputImage, result);
UI Integration: Design a simple greeting screen or image upload interface where users can upload an X-ray image for classification.
Note: Application code is available on Github
How is this step different?
What differentiates this part of the project is you’re able to integrate a sophisticated deep learning model into a lightweight, responsive mobile app that works entirely offline — making it suitable for real-world applications where cloud connectivity may be limited.
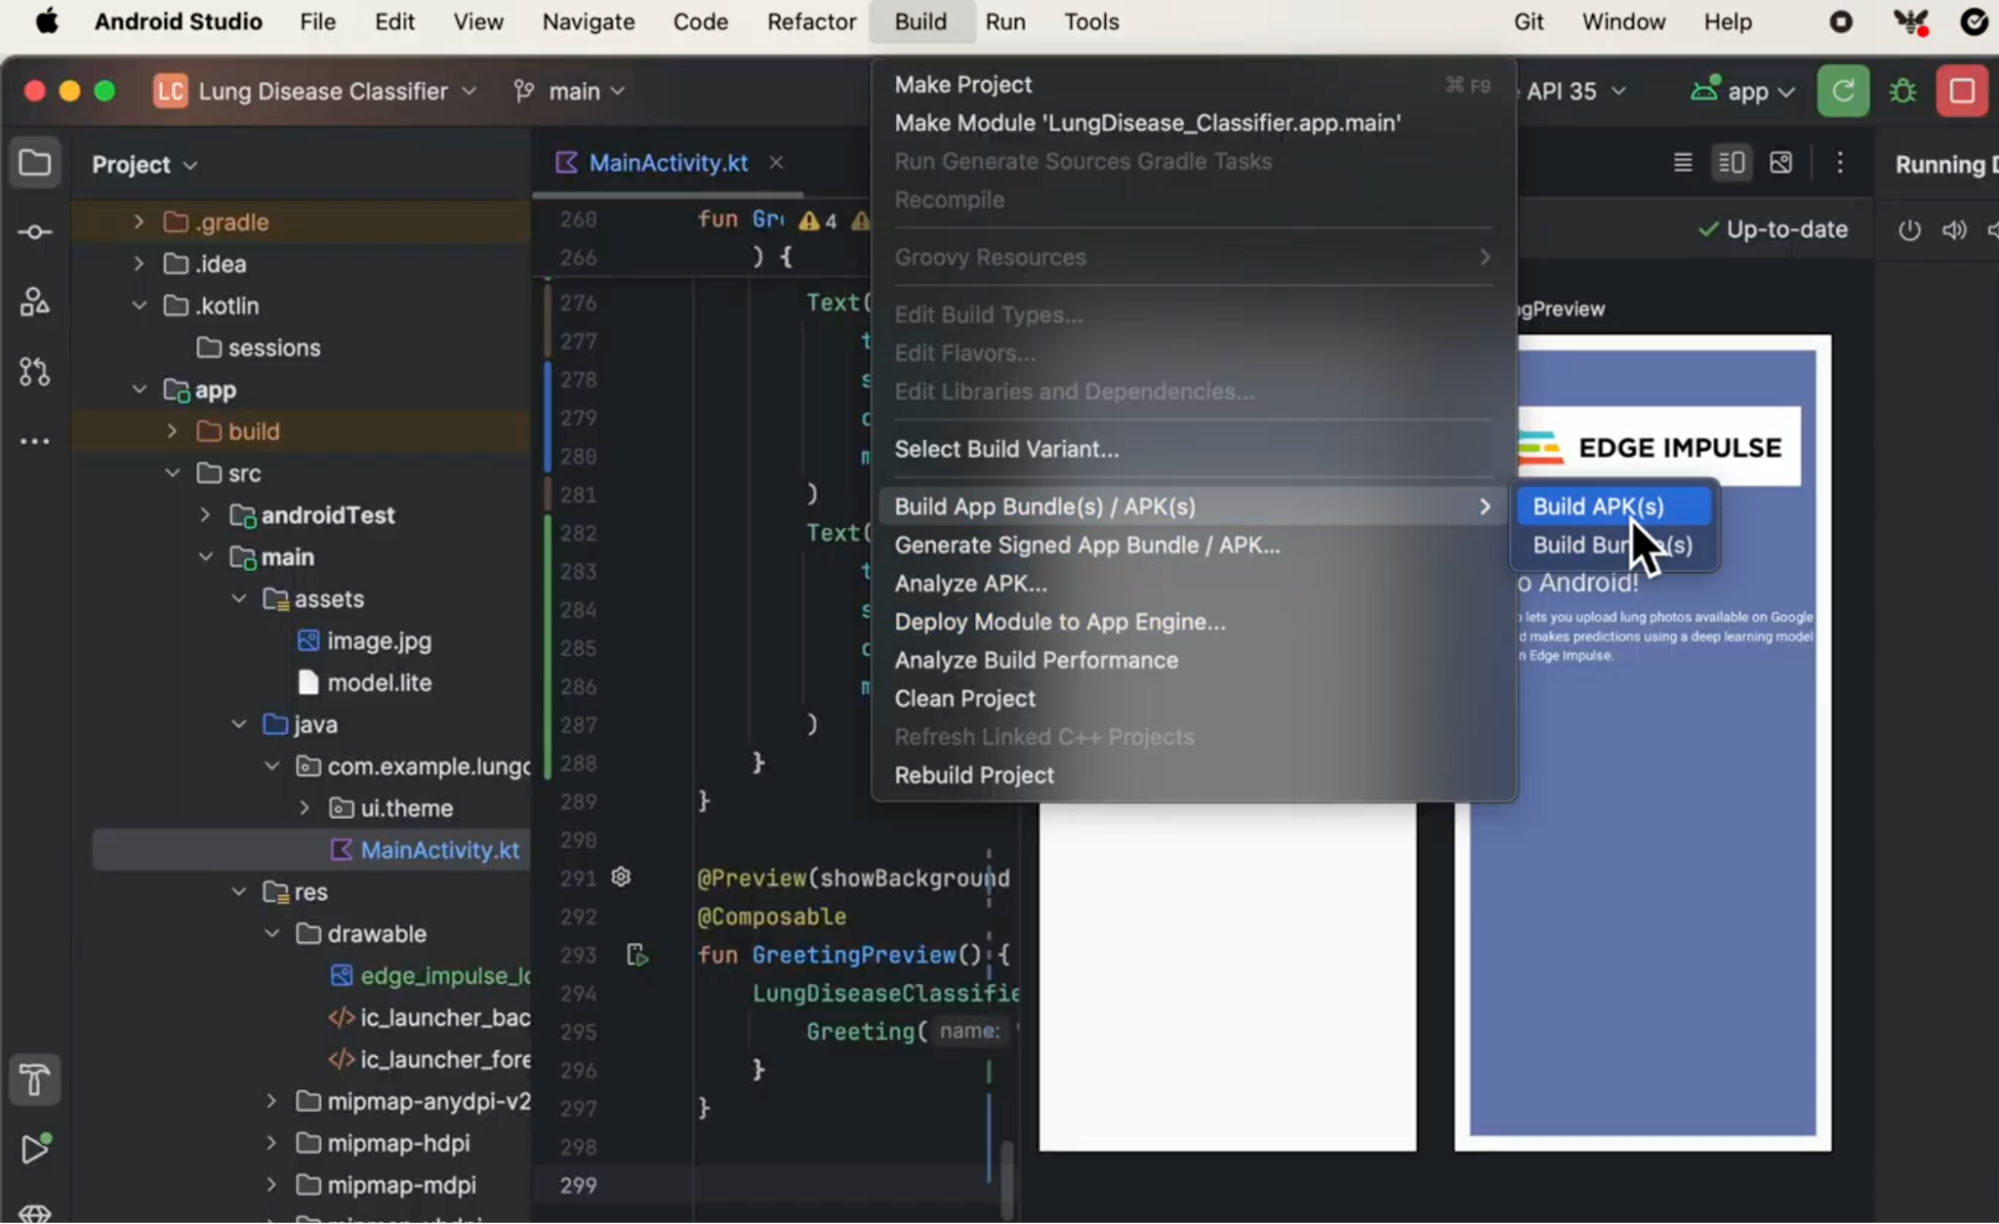
Testing the App and Building the APK
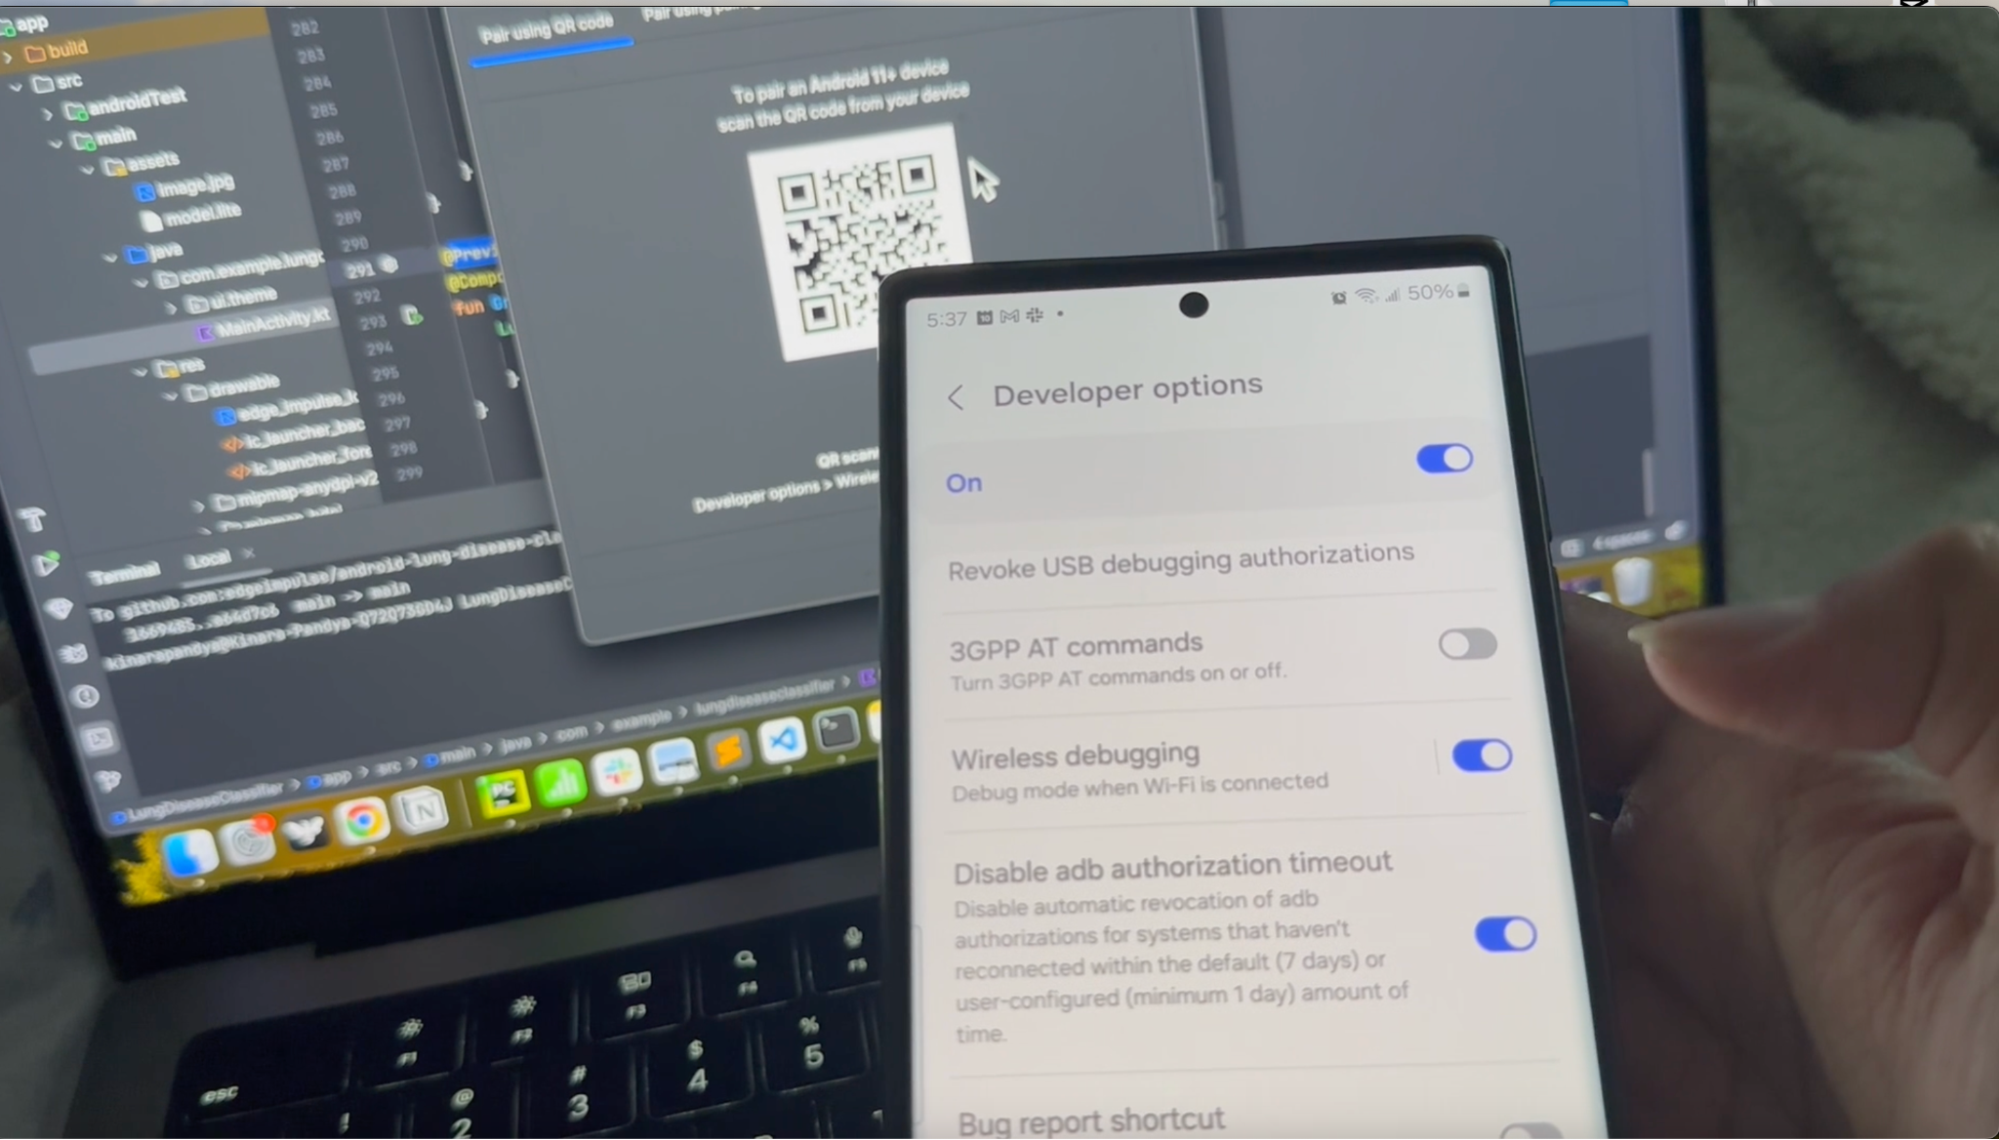
Once you have the app set up, you can test it using Android Studio’s emulator or by deploying it directly to your physical device. Testing on different virtual devices (phones, tablets, watches) ensures the app works across a range of device configurations.
Finally, let’s build the APK and deploy the app on Samsung Galaxy S23 for real-world testing
Hardware acceleration
To optimize your model's performance on Android devices, there are a couple of steps that you can follow; this is not included in the example repository but can be enabled at a later date. See our Running Inference on Android tutorial for the latest information on that.
Conclusion
By the end of this guide, you’ve not only trained a pneumonia detection model but also integrated it into an Android app. This project demonstrates how machine learning can be deployed on mobile devices to solve impactful real-world problems — all offline, making it ideal for healthcare scenarios in low-connectivity areas.
For Android developers, this guide shows you how to integrate advanced AI into your mobile apps easily, while for machine learning engineers, it’s a practical demonstration of how to optimize models for mobile deployment. This is the kind of real-world, cross-disciplinary project that will set you apart as both an Android developer and an AI practitioner.
Next Steps
Check out our Getting Started with Android Studio and Edge Impulse post for more details on using both platforms together.
Don’t just read — build something that can make a difference!