
There are certain capabilities that are absolutely essential to many robotics applications, and one of the most critical is pick-and-place functionality. This ability allows robots to grasp, move, and position objects with precision and reliability, which is fundamental for automating processes across a wide range of industries. In manufacturing, for instance, pick-and-place robots assemble products by accurately positioning components on assembly lines, enhancing speed and reducing errors. In logistics, these robots streamline order fulfillment by swiftly sorting and placing items for shipping. Similarly, the food industry relies on pick-and-place robots to handle delicate goods, such as pastries or produce, ensuring they are moved without damage.
The potential application areas are very diverse because pick-and-place skills are useful in so many different scenarios. But they are also challenging skills to teach a robot that is operating in unstructured or dynamic environments. Such a robot cannot simply perform the same repetitive, preprogrammed movements over and over again. Rather, they must be equipped with advanced sensing systems to inform them about the world around them, as well as complicated control algorithms that enable them to carry out their tasks under ever-changing conditions.
These algorithms often require substantial computational resources for operation, which means that robots employing them must either carry around expensive, heavy, and power-hungry equipment, or they must offload the processing to remote servers. Neither case is ideal as excessive costs prevent many companies from implementing these systems, while the latency associated with remote processing is unacceptable for applications with real-time requirements.
According to Naveen Kumar, these are not the only choices, however. Kumar recently designed a low-cost pick-and-place system that, with the help of Edge Impulse, runs a lightweight — yet accurate — control system on an energy-efficient hardware platform. To demonstrate the setup, Kumar used it to locate and move plastic toys from one place to another, but by using the exact same principles, virtually any pick-and-place task could be accomplished.
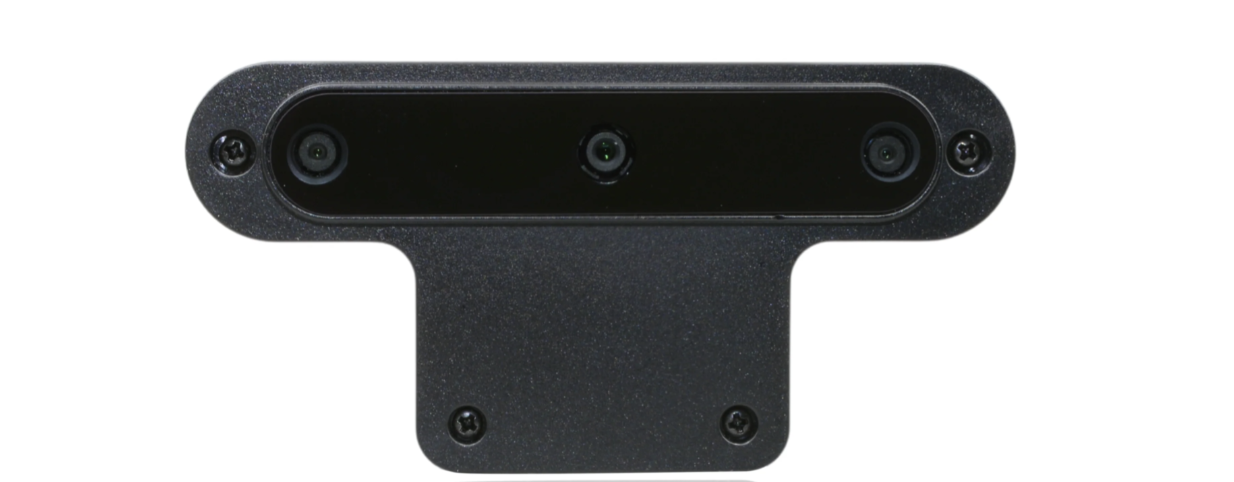
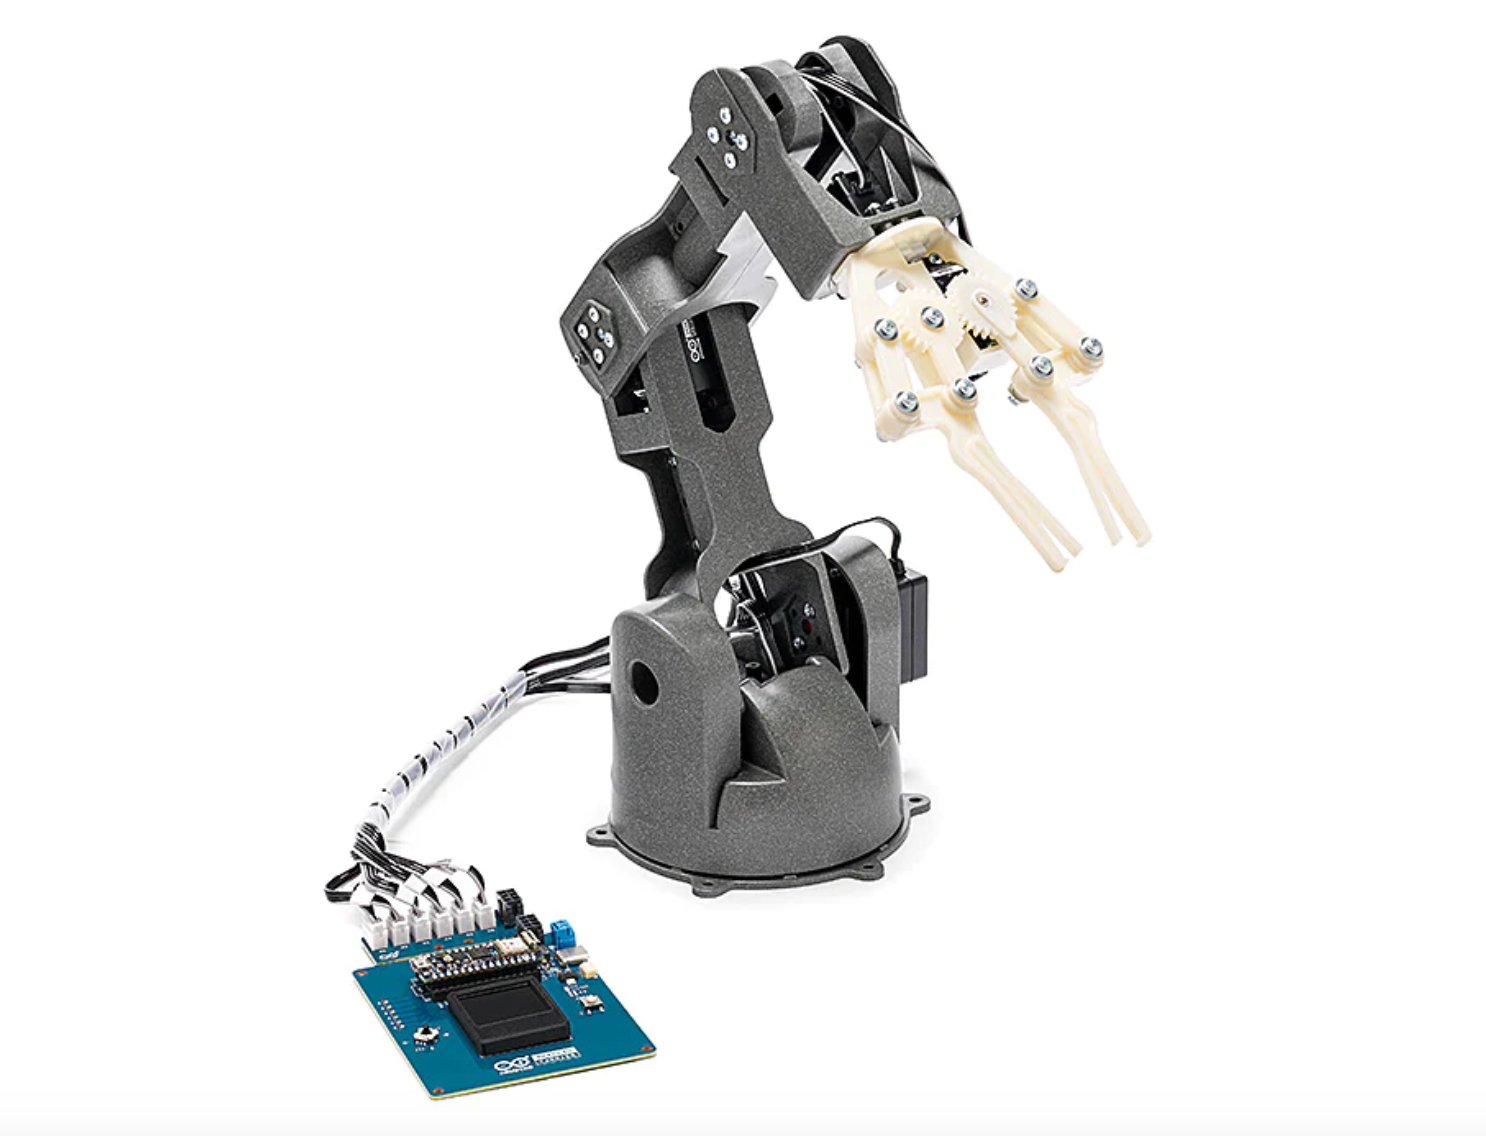
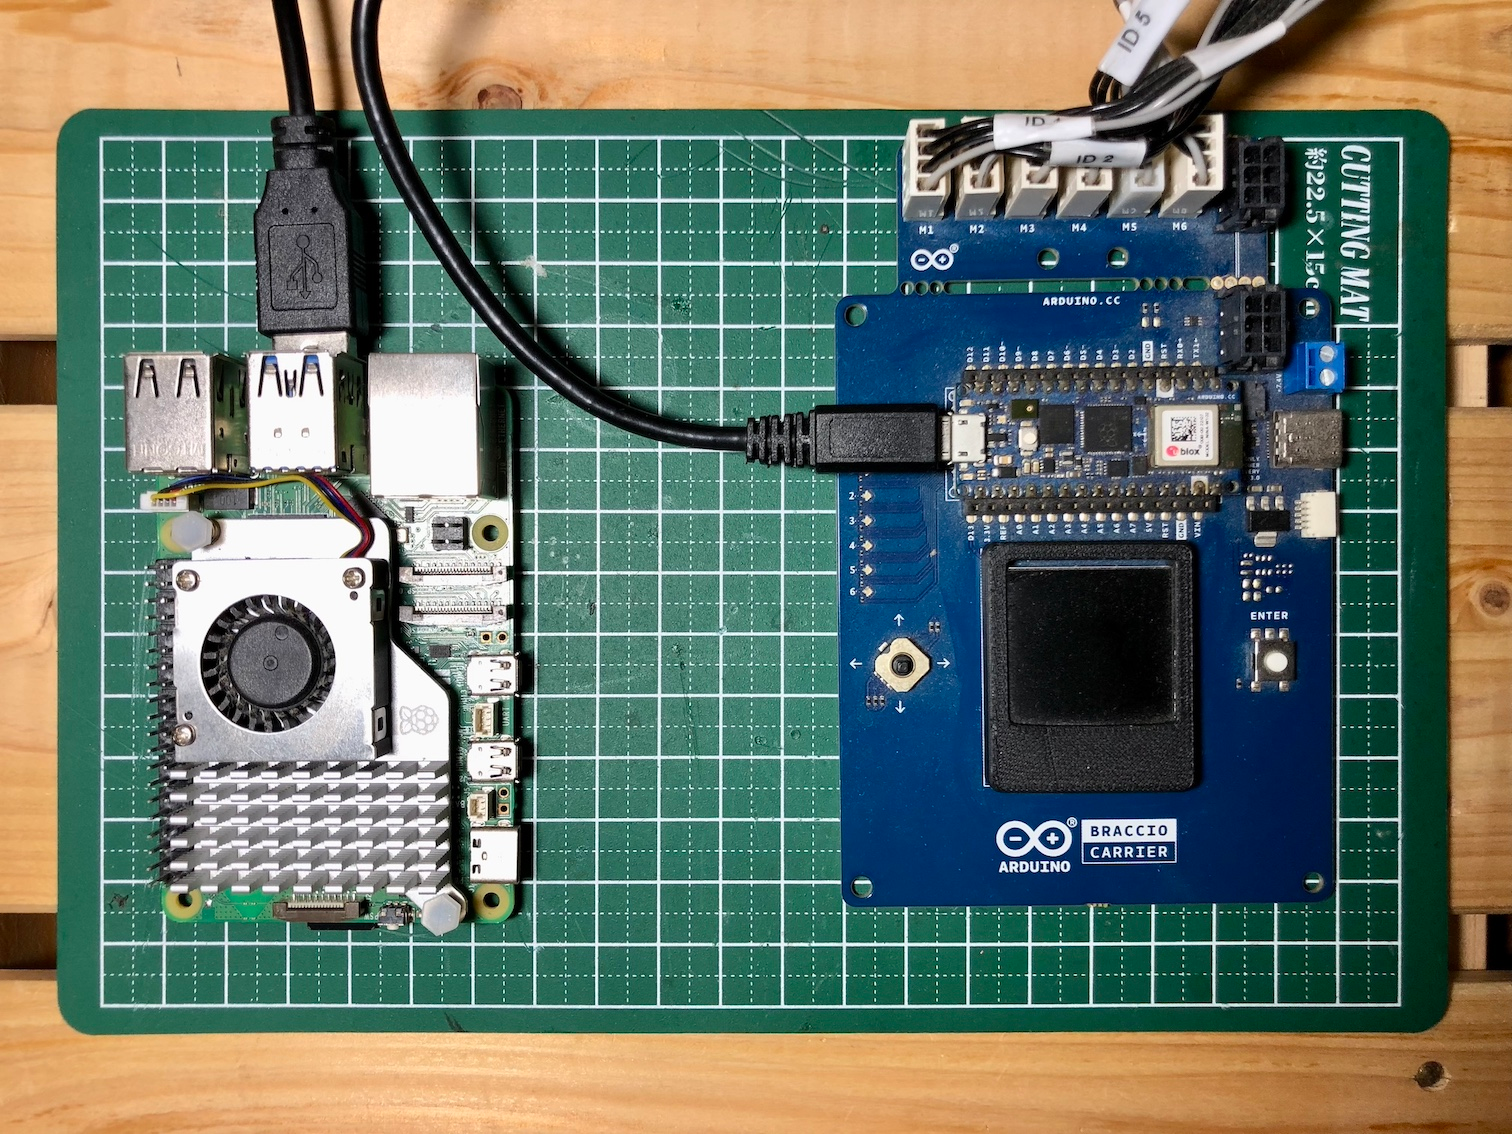
The hardware for the proof of concept system is centered around the Arduino Braccio ++ robotic arm. It is essentially a scaled-down replica of an industrial robot used on an assembly line, which makes it a great platform for testing out new ideas. He chose a Luxonis OAK-D depth camera to capture images, and for processing this data and controlling the robot arm, Kumar selected a Raspberry Pi 5 single board computer and an Arduino Nano RP2040 Connect.
Using this device, Kumar’s plan was to develop an object detection model with Edge Impulse, then deploy it directly to the OAK-D depth camera where distance information could also be calculated. Using that data, a motion-planning algorithm, running on the Raspberry Pi, would send commands to control the Braccio ++ robot arm via Robot Operating System (ROS). With the Arduino Nano RP2040 Connect running a micro-ROS agent, the ROS commands could be translated into appropriate actuator movements.
The setup of the software for this project required quite a bit of work, but fortunately the detailed project write-up walks us through it step-by-step. Kumar first installed Raspberry Pi OS on the Raspberry Pi, then installed ROS 2 Humble, which is a set of software libraries and tools for building robot applications. Next, he added MoveIt 2 — a robotic manipulation platform for ROS — to the system to handle motion planning. Finally, he installed DepthAI ROS to support 3D vision applications.
As for the Arduino Nano RP2040 Connect, Kumar installed micro-ROS to translate ROS commands into movements in the physical robot. After plugging the RP2040 Connect into a Braccio Carrier board, the hardware was ready for action.
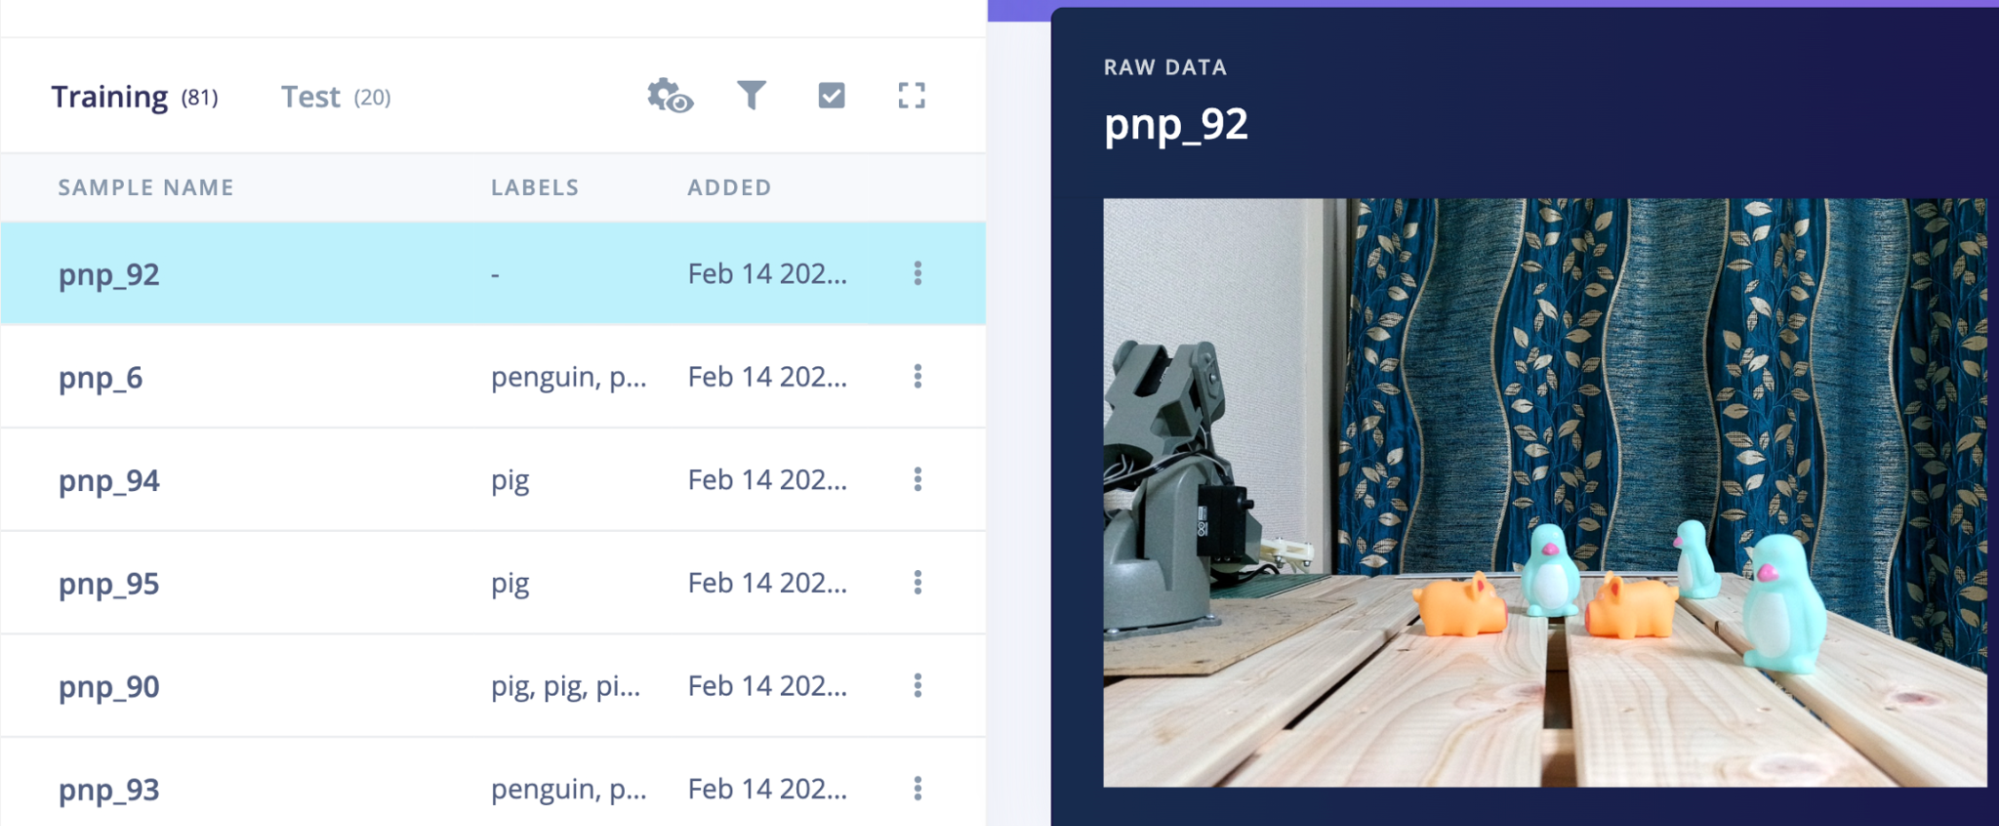
The next step of the development process involved collecting a dataset to train the object detection algorithm. Using the OAK-D camera, about 100 images of plastic pig and penguin toys were captured. Kumar then uploaded these images to Edge Impulse using the Data Acquisition tool. Object detection algorithms need annotations to help them recognize where the objects of interest are in each training image, so he used the Labeling Queue tool to draw bounding boxes around all of the toys. This can be a very time-consuming task, but Enterprise Plan users can access an AI-powered boost to the Labeling Queue to help automatically draw the bounding boxes.
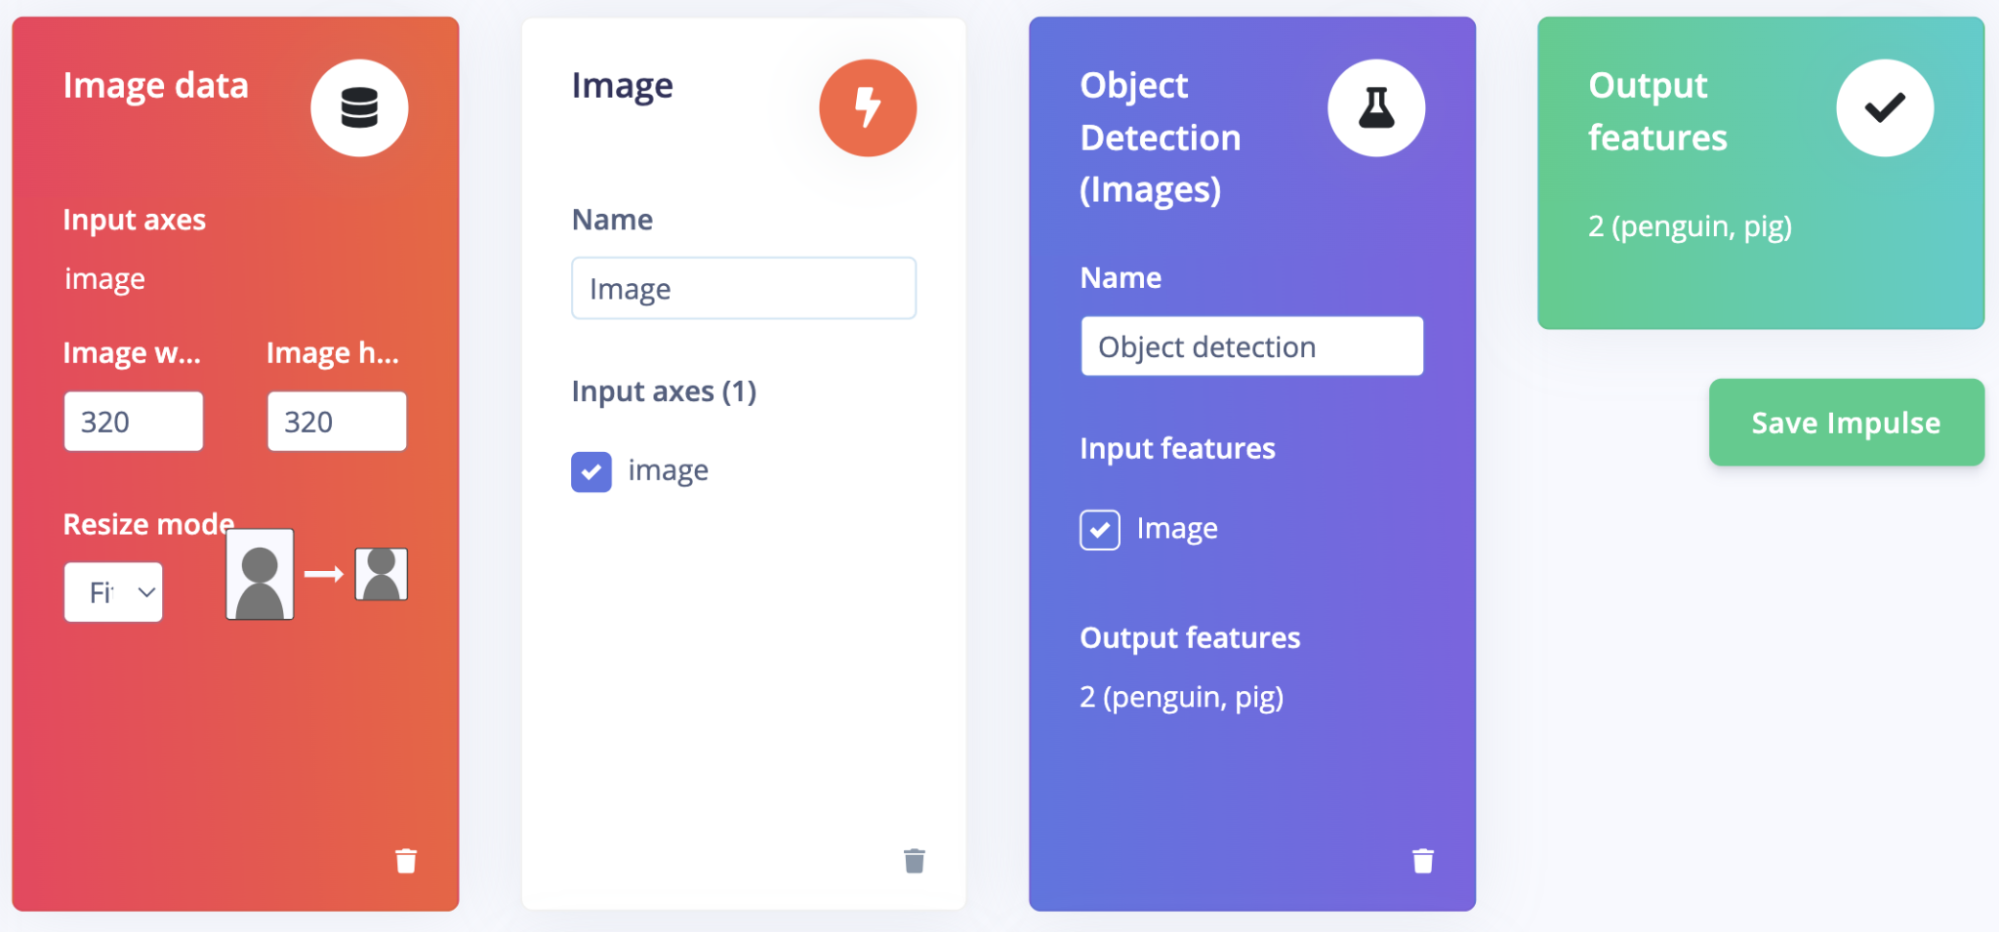
In spite of the fact that the object detection algorithm is the most complex part of the entire build, Kumar noted that it was very simple to create using the Edge Impulse user interface, building a full machine learning pipeline with just a few clicks of the mouse. This pipeline first reduces the size of captured images to minimize the amount of computational resources that are required downstream. It then calculates the most informative features of those images before forwarding them into a 1.9 million-parameter YOLOv5 object-detection algorithm.
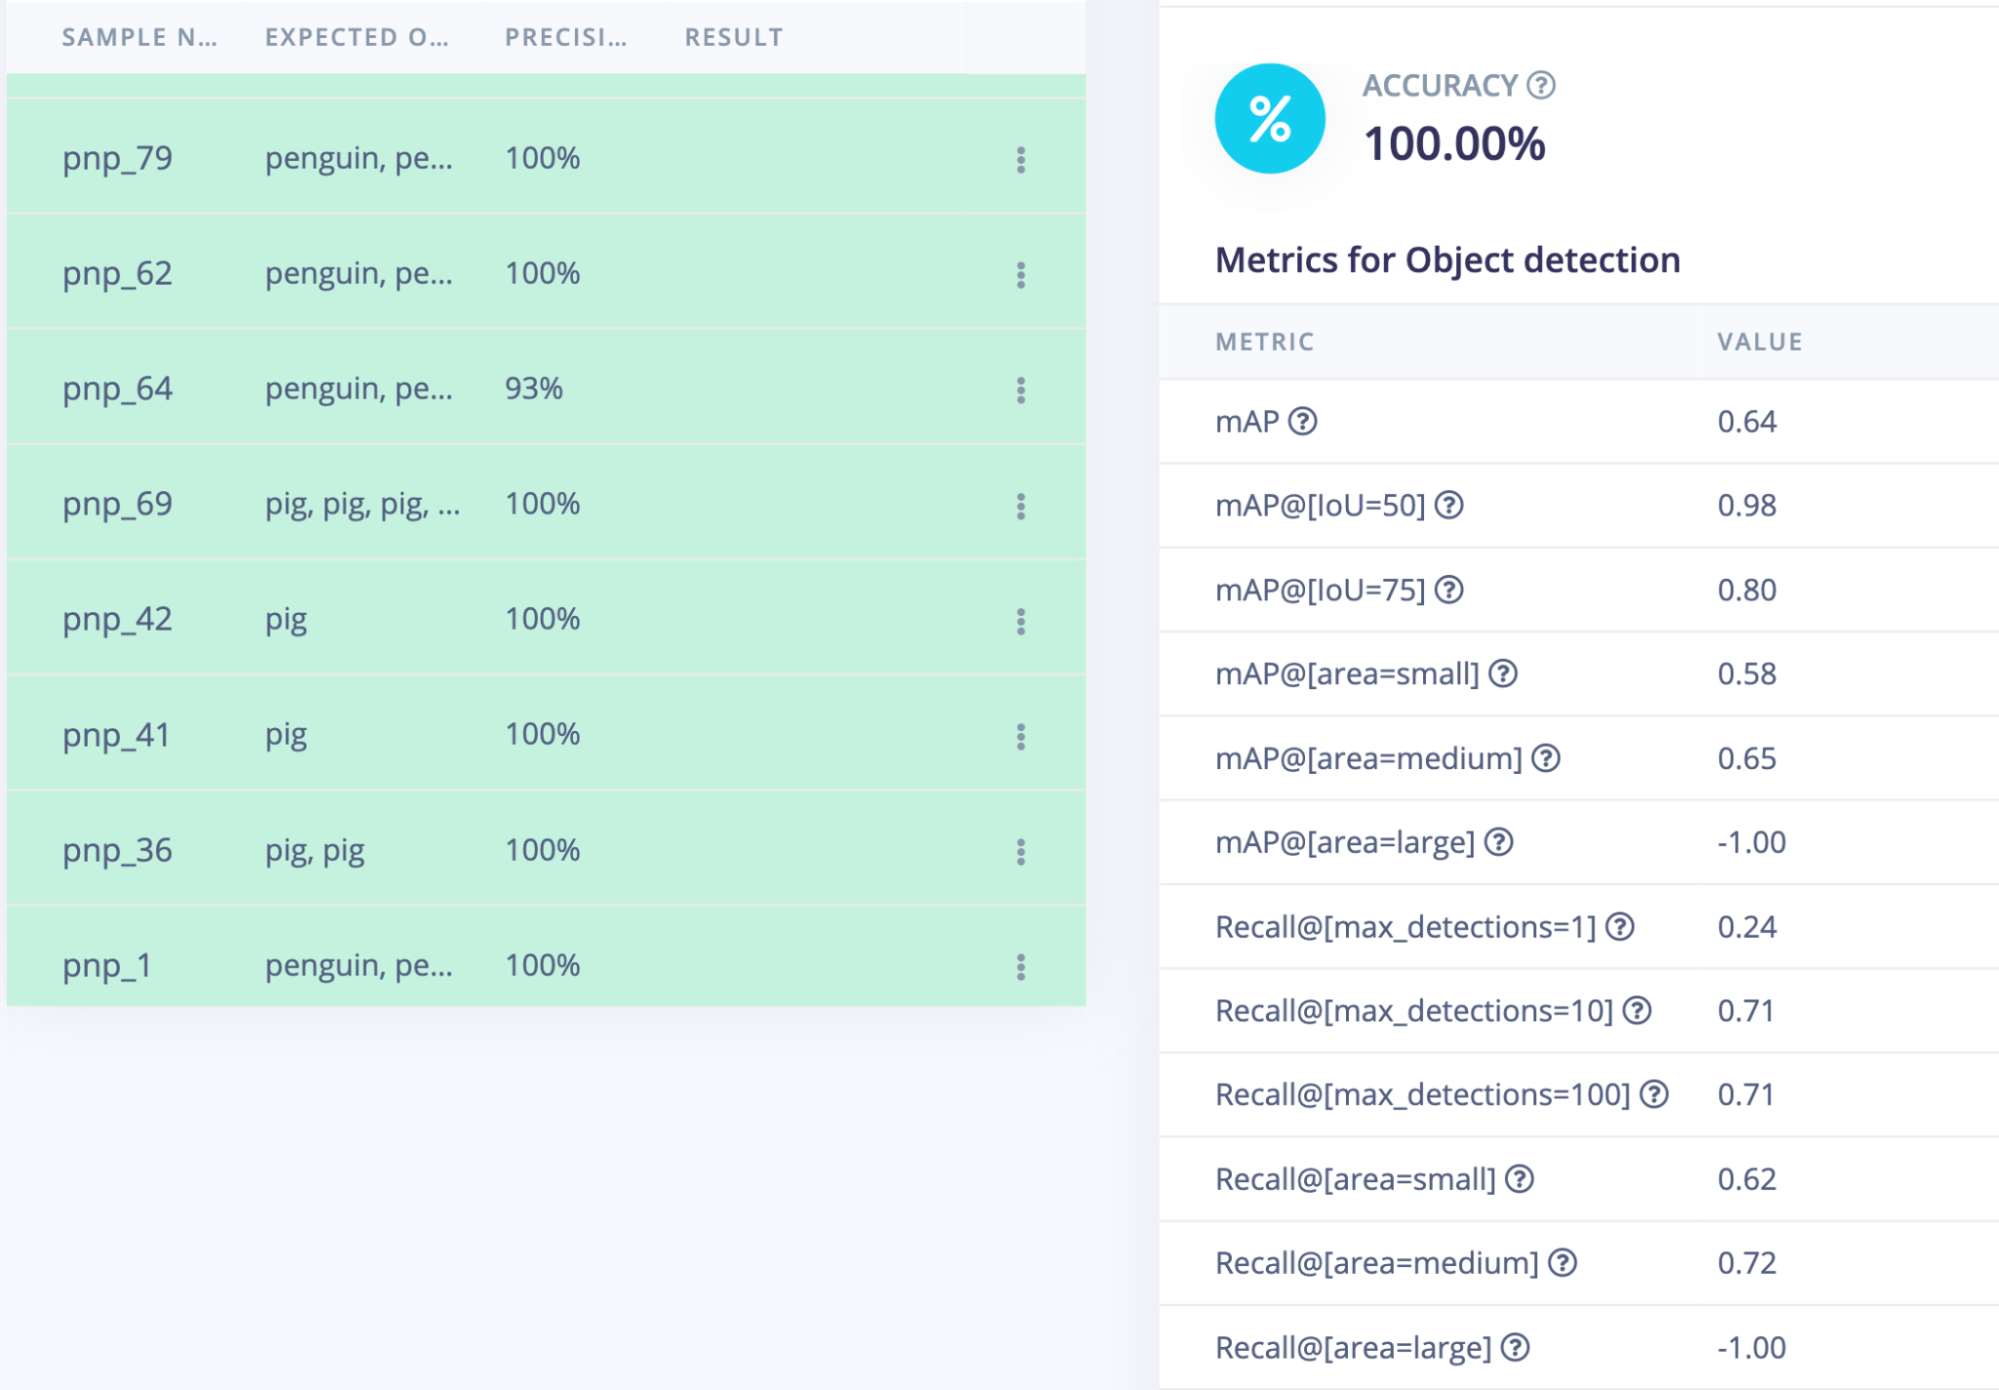
The training process helps the algorithm learn from the collected dataset. And learn it did! Among the metrics displayed after training completed was the precision score, which reached 99.9 percent. In order to ensure that this excellent result was not a case of overfitting the model to the data, Kumar also utilized the Model Testing tool. This checks the model against a set of sample data that was not included in the training process. In this case, accuracy was reported as having reached 100 percent.
That didn’t leave much room for improvement, so Kumar got to work with the deployment process. To prepare the model for the OAK-D’s Movidius Myriad X vision processor, Kumar first downloaded it from Edge Impulse in ONNX format before converting it into MyriadX blob file format. He then loaded this blob file onto the camera itself for local execution.
All that was left at this point was the setup of the robot arm’s control system. Kumar created a model of the robot was created in the Unified Robot Description Format, which ROS uses to understand its geometry. This model was used by MoveIt 2, which Kumar configured to avoid self-collisions and define certain types of movements that can be triggered via ROS commands.
There are a lot of moving pieces here! But all put together, Kumar achieved the goal of building a low-cost, yet fairly sophisticated, pick-and-place machine that runs all of its algorithms on-device.
Be sure to read through the excellent project write-up so that you don’t have to figure out all of these details on your own!